 The Daring Bakers Challenge for August was Lavash (an Armenian flatbread cracker) with a dip or spread of your choosing. The recipe sent out was vegan (except for the yeast... which is kind of vegan... depending on how strict you are. I'm not a vegan but I do have vegan tendencies, so there's no way I'm strict enough to include yeast in my no list! I'd have to give up cheese first and... well... let's just say that I've limited myself to local cheese from pastured cows and the *occasional* imported indulgence, but it goes no further). The recipe also had a gluten-free option. I have to say, I was stoked!!!
 This is the first Daring Bakers recipe that will stay in my repetorie. For one, it was not so decadent that I felt that I was trying to slowly and subtly kill the people I fed it to, nor did I feel that bad when I had to eat it myself. Don't get me wrong, the other cakes/eclairs were delicious, but they were not what I usually want (too sweet and too chocolatey, not to mention way too bad for you), and they were extremely time consuming to make. I'd probably just buy eclairs from now on, if I ever wanted one, but I promise the Daring Bakers and the rest of the bakers in the world that I do have more appreciation for the pastries I do eat!
Secondly, I love the versitility of this recipe. It can be made sweet or savory. It can be made with wheat flour or gluten-free. It's vegan (or close enough) but non-vegans will love it too (it is just a cracker, after all). You can put any toping on it you want (I chose sesame seeds (which I had problems getting to stick to the dough) and garlic powder (amazing!), but my favorite I've seen are nori and black sesame seed (beautiful and delicious looking) and cinnamon sugar.
Thirdly, I had a blast making it. It didn't take forever. I used to think that making crackers was silly - that I could just buy them and they are so cheap and easy. However, this was not hard at all, and it was tasty and fresh. I really enjoyed myself! There is some kneading involved (not much) but I liked it. The recipe creates a dough that holds together easily, so it doesn't end up all over your hands or counters. The kneading only takes ten minutes. Put on a song you like and bam! It's practically nothing. It feels good. I felt like my cat, kneading happily along.
Fourth, it really is better to make something at home than to buy it. It just feels... rewarding. And that's why we're here!
I don't want to speak badly of the challenges, though. I have enjoyed them, even in their difficulty! And each time I've learned something important about baking, which I'm definitly not too good at. This time I learned the Windowpane Technique. This is where, once you knead some dough, you pinch off a piece and rub it into a thin disk with your fingers. If it is stretchy and opaque you're done kneading. If it tears easily, knead some more. This is great! It's a nice visual test to see how you've done kneading, and if you are done. Yes, like a lot of baking techniques it's kind of subjective. But it's definitly helpful to know!
 Here is the recipe for the crackers (non-gluen-free):
* 1 1/2 cups (6.75 oz) unbleached bread flour or gluten free flour blend (If you use a blend without xanthan gum, add 1 tsp xanthan or guar gum to the recipe)
* 1/2 tsp (.13 oz) salt
* 1/2 tsp (.055 oz) instant yeast
* 1 Tb (.75 oz) agave syrup or sugar
* 1 Tb (.5 oz) vegetable oil
* 1/3 to 1/2 cup + 2 Tb (3 to 4 oz) water, at room temperature
* Poppy seeds, sesame seeds, paprika, cumin seeds, caraway seeds, or kosher salt for toppings
1. In a mixing bowl, stir together the flour, salt yeast, agave, oil, and just enough water to bring everything together into a ball. You may not need the full 1/2 cup + 2 Tb of water, but be prepared to use it all if needed.
2. Sprinkle some flour on the counter and transfer the dough to the counter. Knead for about 10 minutes, or until the ingredients are evenly distributed. The dough should pass the windowpane test (see http://www.wikihow.com/Determine-if-Bre … ong-Enough for a discription of this) and register 77 degrees to 81 degrees Fahrenheit. The dough should be firmer than French bread dough, but not quite as firm as bagel dough (what I call medium-firm dough), satiny to the touch, not tacky, and supple enough to stretch when pulled. Lightly oil a bowl and transfer the dough to the bowl, rolling it around to coat it with oil. Cover the bowl with plastic wrap.
3. Ferment at room temperature for 90 minutes, or until the dough doubles in size. (You can also retard the dough overnight in the refrigerator immediately after kneading or mixing).
4. Mist the counter lightly with spray oil and transfer the dough to the counter. Press the dough into a square with your hand and dust the top of the dough lightly with flour. Roll it out with a rolling pin into a paper thin sheet about 15 inches by 12 inches. You may have to stop from time to time so that the gluten can relax. At these times, lift the dough from the counter and wave it a little, and then lay it back down. Cover it with a towel or plastic wrap while it relaxes. When it is the desired thinness, let the dough relax for 5 minutes. Line a sheet pan with baking parchment. Carefully lift the sheet of dough and lay it on the parchment. If it overlaps the edge of the pan, snip off the excess with scissors.
5. Preheat the oven to 350 degrees Fahrenheit with the oven rack on the middle shelf. Mist the top of the dough with water and sprinkle a covering of seeds or spices on the dough (such as alternating rows of poppy seeds, sesame seeds, paprika, cumin seeds, caraway seeds, kosher or pretzel salt, etc.) Be careful with spices and salt - a little goes a long way. If you want to precut the cracker, use a pizza cutter (rolling blade) and cut diamonds or rectangles in the dough. You do not need to separate the pieces, as they will snap apart after baking. If you want to make shards, bake the sheet of dough without cutting it first.
5. Bake for 15 to 20 minutes, or until the crackers begin to brown evenly across the top (the time will depend on how thinly and evenly you rolled the dough).
6. When the crackers are baked, remove the pan from the oven and let them cool in the pan for about 10 minutes. You can then snap them apart or snap off shards and serve.
DELICIOUS! Simple.
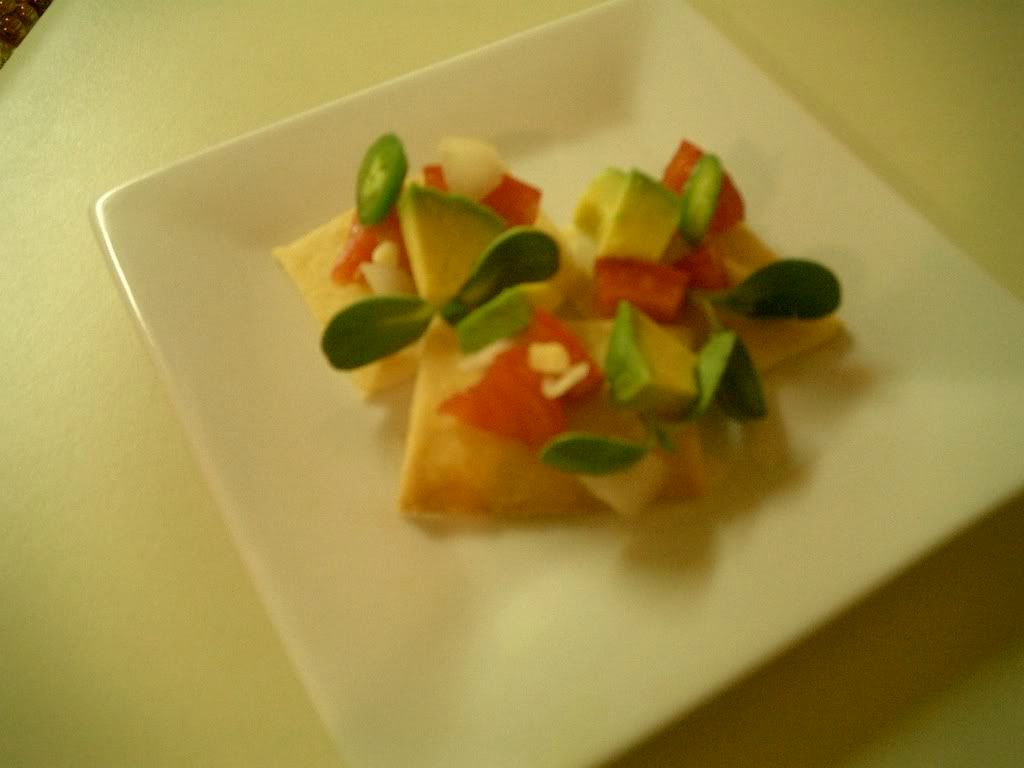
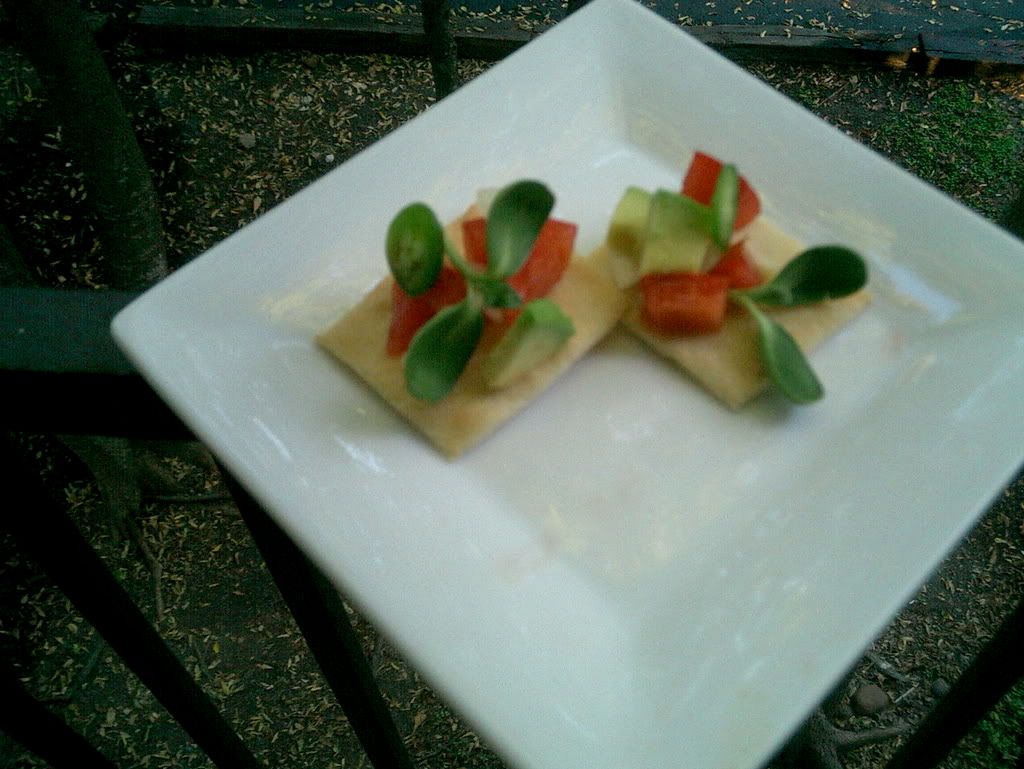
For a topping I just made a mix of tomatoes, onions, avocado, sunflower sprouts, garlic and paper-thin jalepino slices. Kind of a salsa, but not really much of a recipe. Use as much or as little of each as you want. It's most amazing if you use what's in season and ripe in your area, so go at it!


3 comments:
Great job! I love the options of sweet or savoury, too.
Your cracker toppings are so cute! They almost look like they belong in an O-bento lunch.
Great presentation. They look so fresh and scrumpcious!
Post a Comment