I just went on a lovely trip to Chicago for a friend's wedding, and it was absolutely perfect. The first day it rained a lot (rain, they tell me, that was from Gustav, which I find strange, since I don't even think we got rain in Austin from Gustav. I make no claims to understand weather patterns), but the rest of the days were the kinds of clear, cool, comfortable autumn days that really make me miss the Midwest. A few excited trees had already started to change color, and the light came down in a lower angle golden glow that makes everything deepen into a richness you don't get in the bright saturation of summer. Five years in Southwesterly climes and it makes me long more and more to go back to the beauty I grew up with. Well, maybe not entirely back, but Chicago would be close enough!
To combat the dreariness of the first day, Rich and I went to three coffee shops. I had the foresight to photograph only one, so I'll tell you a little about the other two and show you about the third, which, I think, was the best.
For breakfast we went to the
Bourgeois Pig, a cozy spot just off the Red Line on Fullerton. It's more of a cafe/coffeeshop, good for a drink and a meal, or just a drink, or, if you're into it, just a meal. Rich had a waffle with a blueberry for each square (I think accidentally but it was amusing nontheless), and I had some amazing granola with soy milk. It had everything but the kitchen sink - oats, honey, various nuts and seeds (including but not limited to sunflower, pumpkin, and almonds), cinnamon, crasins, raisins, and fresh strawberries on top. The coffee was only so-so, but the food was so good, and the atmosphere kind of victorian-British-cozy. There was the additionally amusing scene playing out in the same room as us of a college student and what I can only guess were a professional musician and maybe a professor talking about staging an opera in the spring. It made me long for more highbrow art, the kind of art you only get where the population is teeming with 'serious' universities, which Chicago is. Actually, you may only get that kind of artistic diversity, from students and professionals staging The Magic Flute to stand up comics zinging one-liners, in New York and Chicago. Funny, that's something I associate with a more 'serious' location, too. Somewhere where it gets cold, where people wear dark clothes. It's easy to get comfortable in Austin, the Velvet Rut, and I sometimes worry that I get too complacent.
However! We had dinner that night (rehearsal dinner for the wedding, actually) at
Uncommon Ground, which used to be just a coffee shop but, like Bourgois Pig, morphed into a coffeeshop restaurant, but with the added dimension of a bar. It was kind of a strange place, with highbrow service (waiters placing your napkins on your lap for you) in a real coffeeshop environment (comfy chairs, cozy lighting). My food was okay (eggplant ravioli in heirloom tomato water) but they didn't have many vegetarian options. Chicago is kind of like that. There are places, and options, but not nearly as many as Austin. I did have two cocktails that were amazing and helped the world. Yes, I had a drink where every time someone orders one, the restaurant donates $1 to a PAWS, a charity that helps animal shelters, and another drink where every time someone orders one, they plant a tree. Get tipsy for a cause! Brilliant!
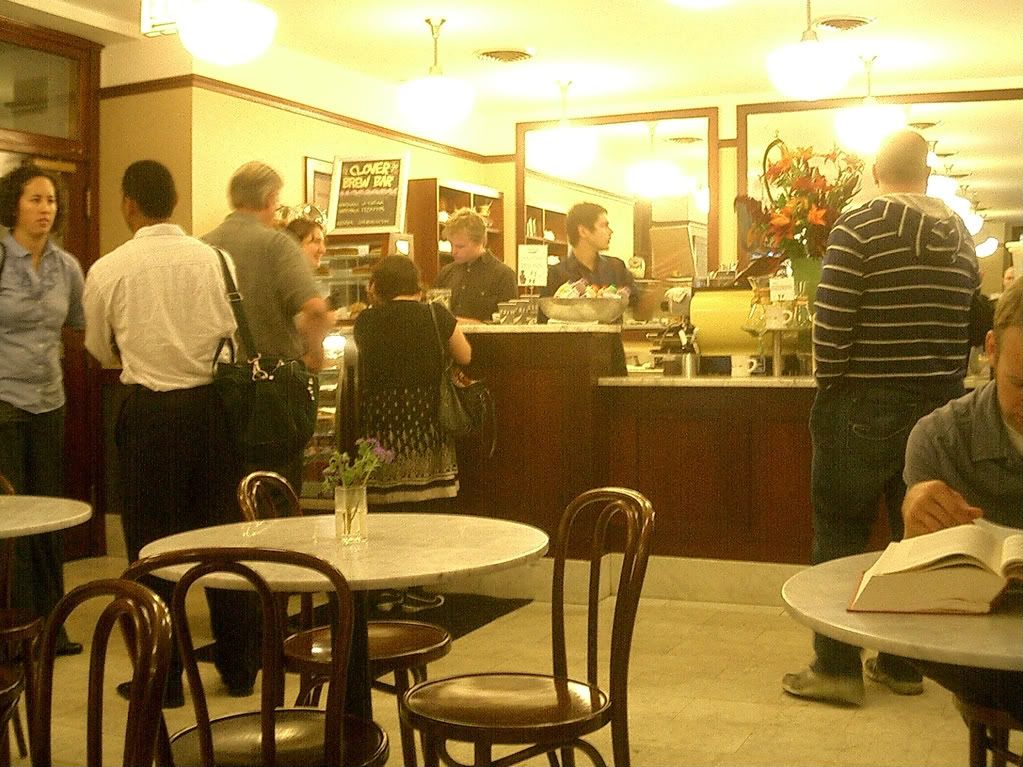
The best coffee we had, hands down, was from
Intelligentsia. It's a Chicago institution, from what I've read in Food and Wine Magazine (who proclaimed it one of the best coffee spots in America, up there with Stumptown). My friends tell me there are locations all over the city and many shops sell their beans and brew, but for a real experience, I wanted to go to one of their locations. We went to the one downtown off the Jackson stop of the Red Line, just before we went to the Chicago Art Institute. It's a very European feeling shop, spare and clean with not too much food, but a definite emphasis on the coffee.
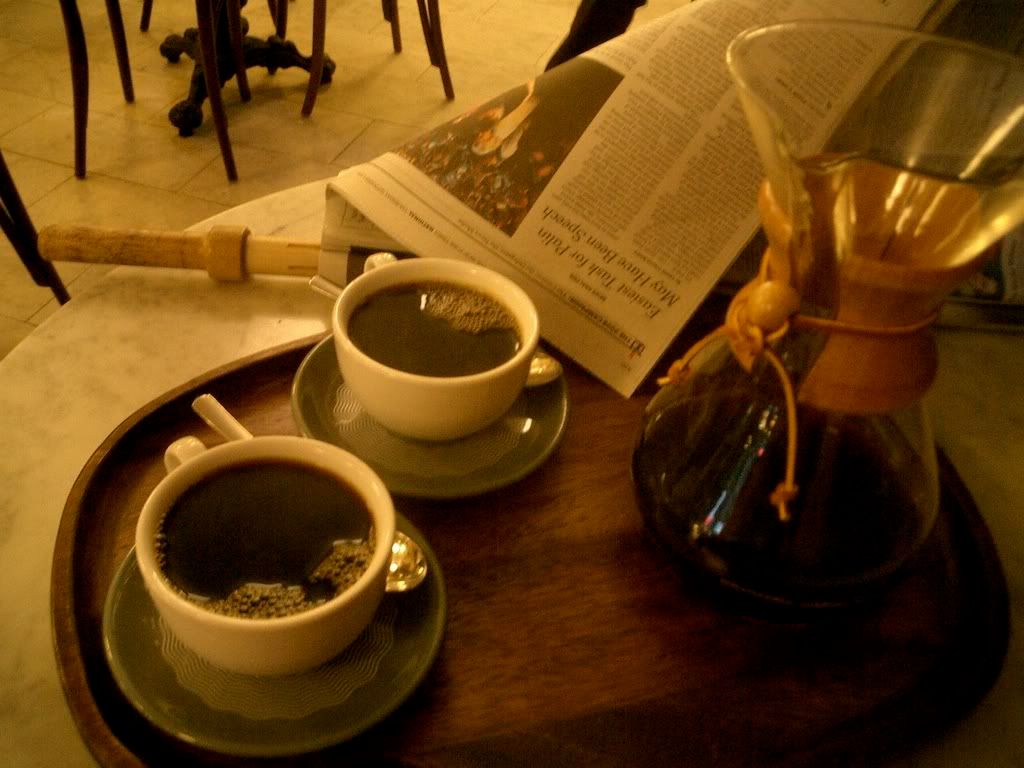
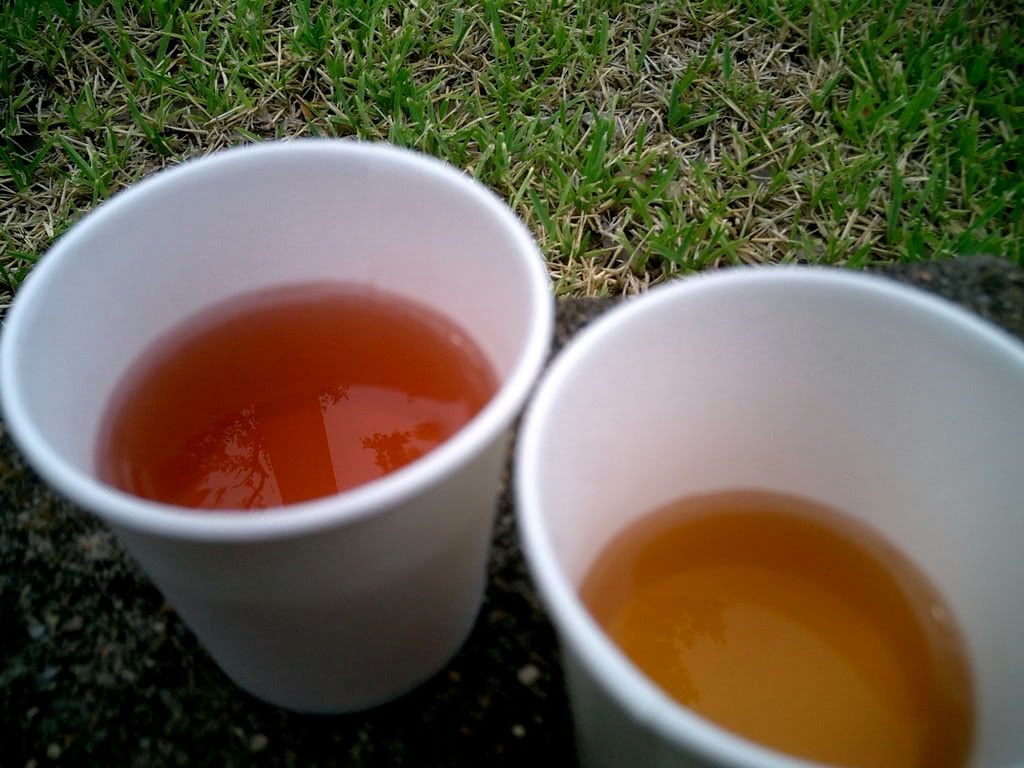
We split a Chemex for Two (which, although we like coffee we don't drink that much caffine, so it could have been a Chemex for Four for us!). It was my first experience with a Chemex method of brewing coffee, so if you're unfamiliar, I'll describe it. It's this beaker-looking glass contraption that you fit with a filter in the top, and fill with beans and pour hot water over, so it functions sort of like a non-electric brewing machine, but produces coffee comparable to a French Press. I have to say, it wasn't as oily as French Press coffee, but the flavor was clean and clear. We had coffee from Honduras, which was extremely herbal to me. It was very bright and clean, with that definite Latin American acidity. My only cons were that it wasn't as good cold, and the glass Chemex didn't do much to keep it warm, so drink fast. And enjoy!

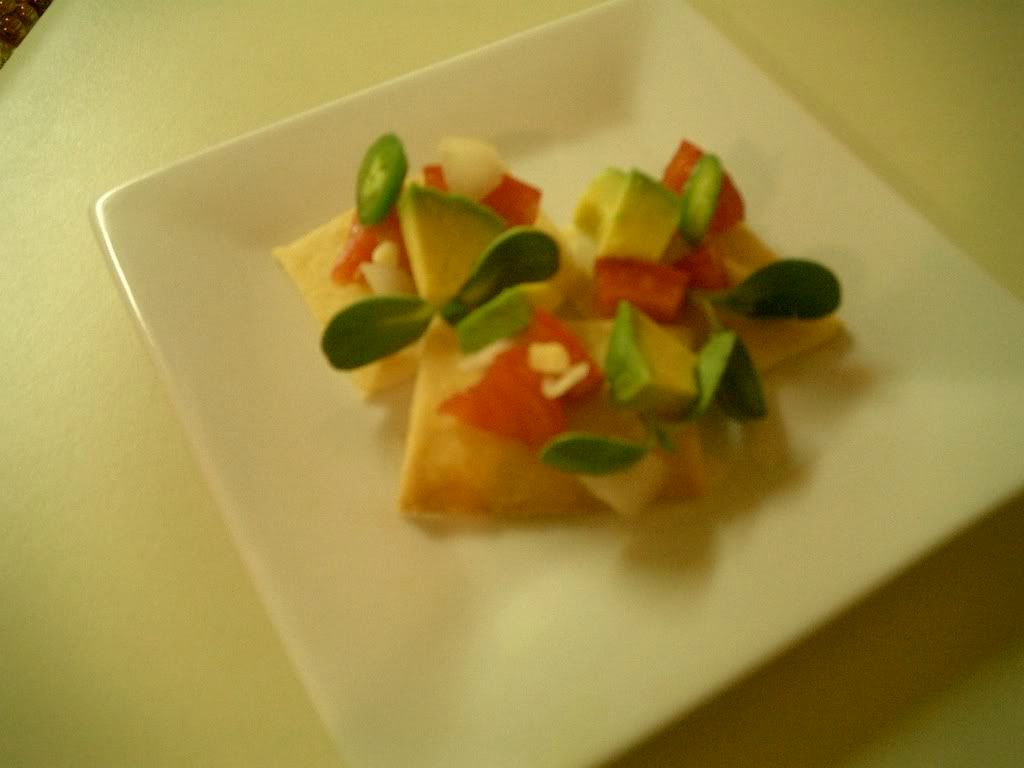 The Daring Bakers Challenge for August was Lavash (an Armenian flatbread cracker) with a dip or spread of your choosing. The recipe sent out was vegan (except for the yeast... which is kind of vegan... depending on how strict you are. I'm not a vegan but I do have vegan tendencies, so there's no way I'm strict enough to include yeast in my no list! I'd have to give up cheese first and... well... let's just say that I've limited myself to local cheese from pastured cows and the *occasional* imported indulgence, but it goes no further). The recipe also had a gluten-free option. I have to say, I was stoked!!!
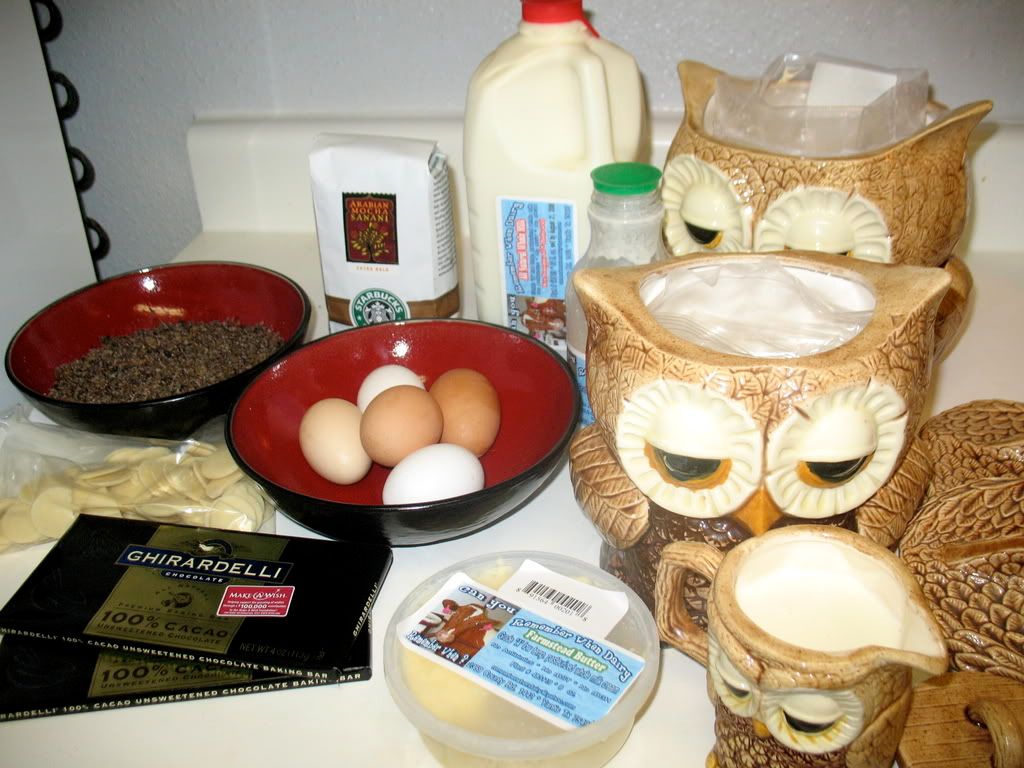
 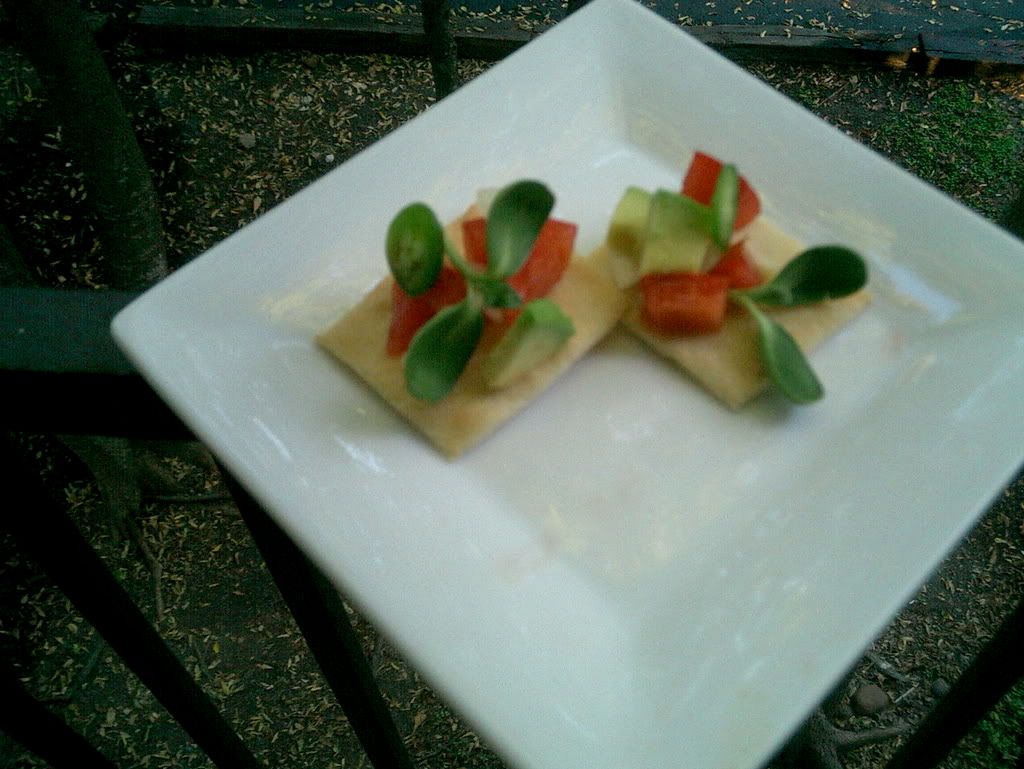 Here is the recipe for the crackers (non-gluen-free):
 It's boiling! Everywhere!
 After 12 minutes, they looked a lovely golden color!
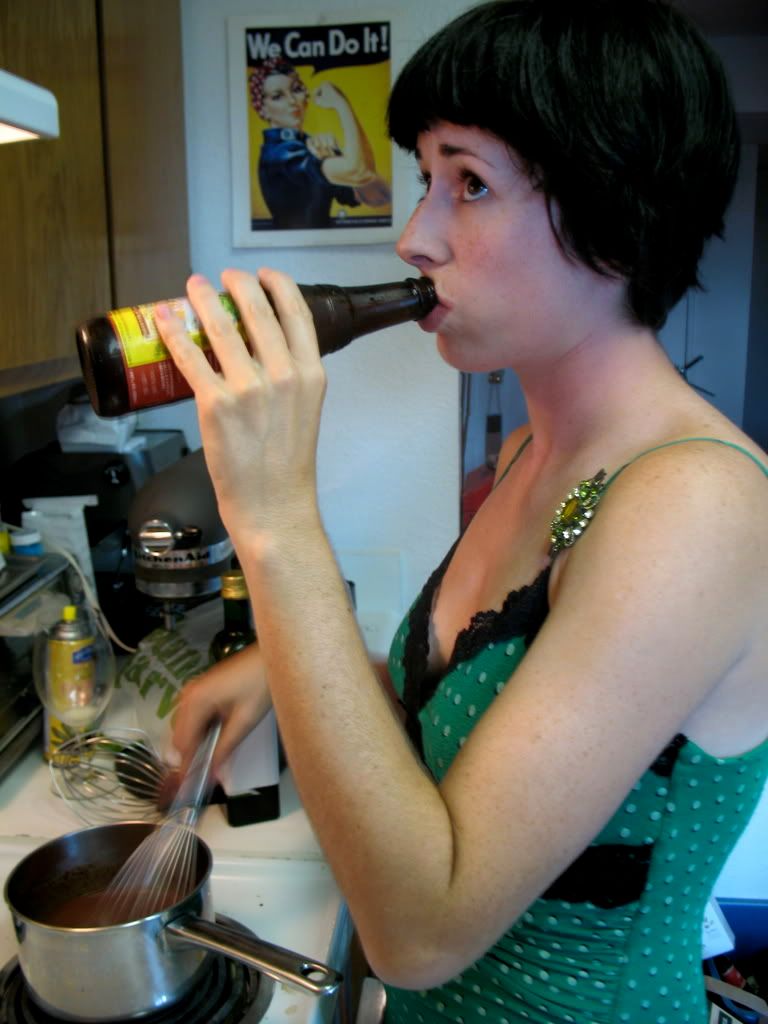 I feel better. Wait, no. I'm still whisking. It must be the beer.
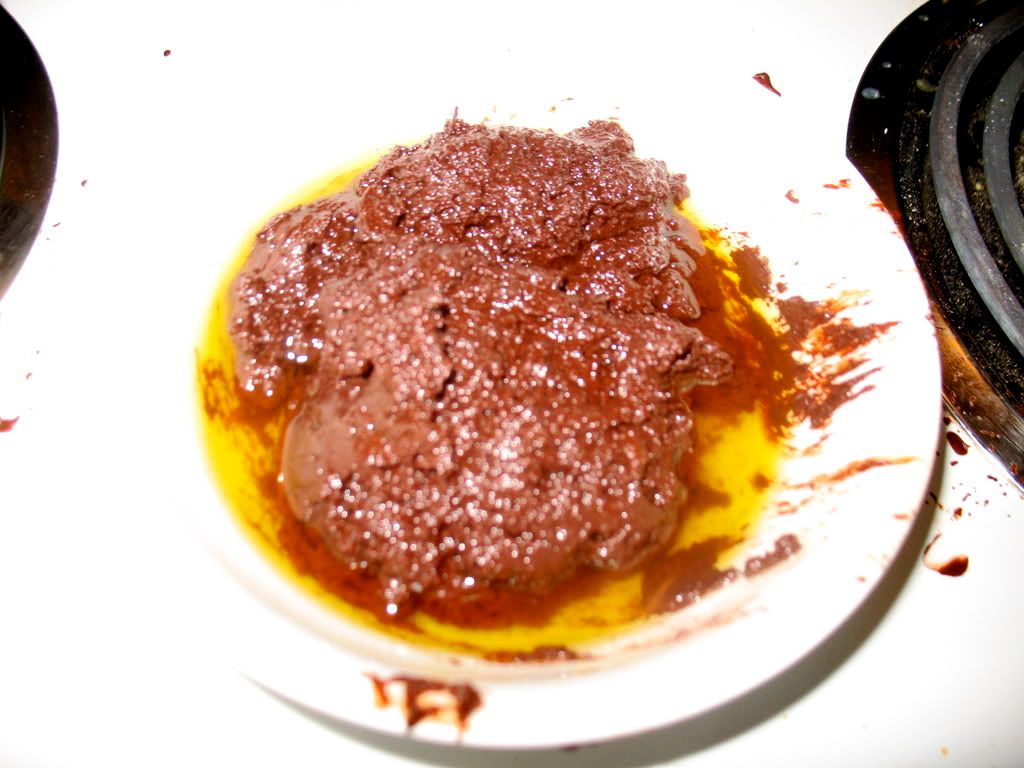 See? Gross.
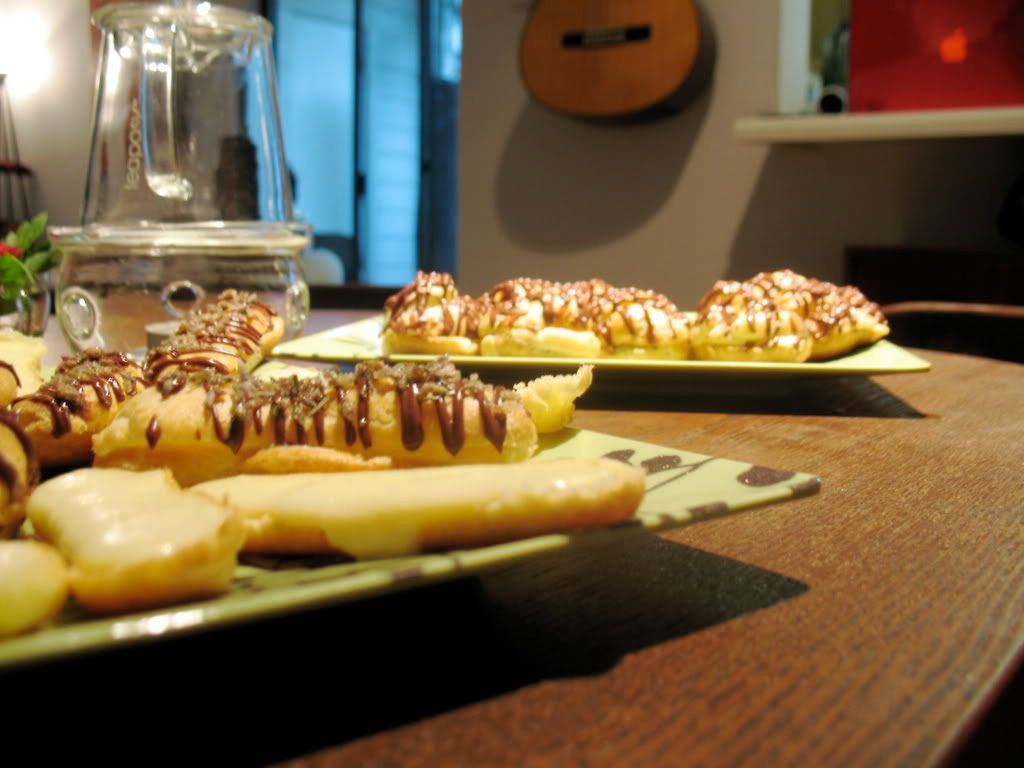
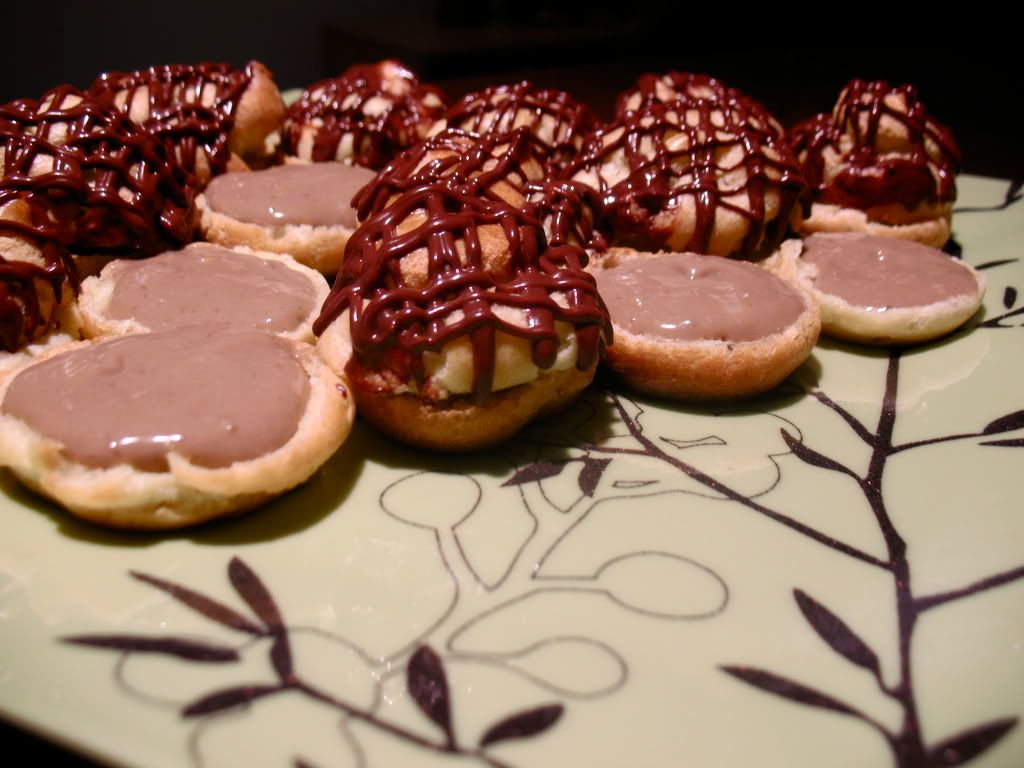
 In the end, we were tired. But happy.