Monday, September 29, 2008

Sleepy


Isn't she cute? Ah, Toaster.

Daring Bakers September: Lavash Crackers!

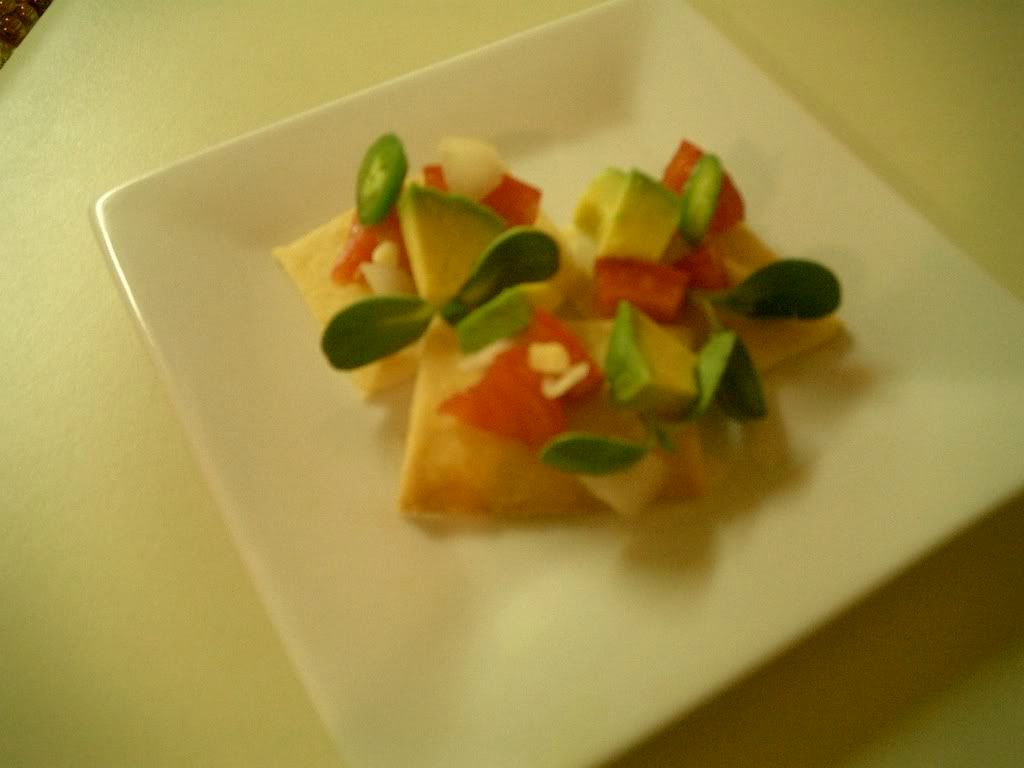
The Daring Bakers Challenge for August was Lavash (an Armenian flatbread cracker) with a dip or spread of your choosing. The recipe sent out was vegan (except for the yeast... which is kind of vegan... depending on how strict you are. I'm not a vegan but I do have vegan tendencies, so there's no way I'm strict enough to include yeast in my no list! I'd have to give up cheese first and... well... let's just say that I've limited myself to local cheese from pastured cows and the *occasional* imported indulgence, but it goes no further). The recipe also had a gluten-free option. I have to say, I was stoked!!!

This is the first Daring Bakers recipe that will stay in my repetorie. For one, it was not so decadent that I felt that I was trying to slowly and subtly kill the people I fed it to, nor did I feel that bad when I had to eat it myself. Don't get me wrong, the other cakes/eclairs were delicious, but they were not what I usually want (too sweet and too chocolatey, not to mention way too bad for you), and they were extremely time consuming to make. I'd probably just buy eclairs from now on, if I ever wanted one, but I promise the Daring Bakers and the rest of the bakers in the world that I do have more appreciation for the pastries I do eat!

Secondly, I love the versitility of this recipe. It can be made sweet or savory. It can be made with wheat flour or gluten-free. It's vegan (or close enough) but non-vegans will love it too (it is just a cracker, after all). You can put any toping on it you want (I chose sesame seeds (which I had problems getting to stick to the dough) and garlic powder (amazing!), but my favorite I've seen are nori and black sesame seed (beautiful and delicious looking) and cinnamon sugar.

Thirdly, I had a blast making it. It didn't take forever. I used to think that making crackers was silly - that I could just buy them and they are so cheap and easy. However, this was not hard at all, and it was tasty and fresh. I really enjoyed myself! There is some kneading involved (not much) but I liked it. The recipe creates a dough that holds together easily, so it doesn't end up all over your hands or counters. The kneading only takes ten minutes. Put on a song you like and bam! It's practically nothing. It feels good. I felt like my cat, kneading happily along.

Fourth, it really is better to make something at home than to buy it. It just feels... rewarding. And that's why we're here!

I don't want to speak badly of the challenges, though. I have enjoyed them, even in their difficulty! And each time I've learned something important about baking, which I'm definitly not too good at. This time I learned the Windowpane Technique. This is where, once you knead some dough, you pinch off a piece and rub it into a thin disk with your fingers. If it is stretchy and opaque you're done kneading. If it tears easily, knead some more. This is great! It's a nice visual test to see how you've done kneading, and if you are done. Yes, like a lot of baking techniques it's kind of subjective. But it's definitly helpful to know!

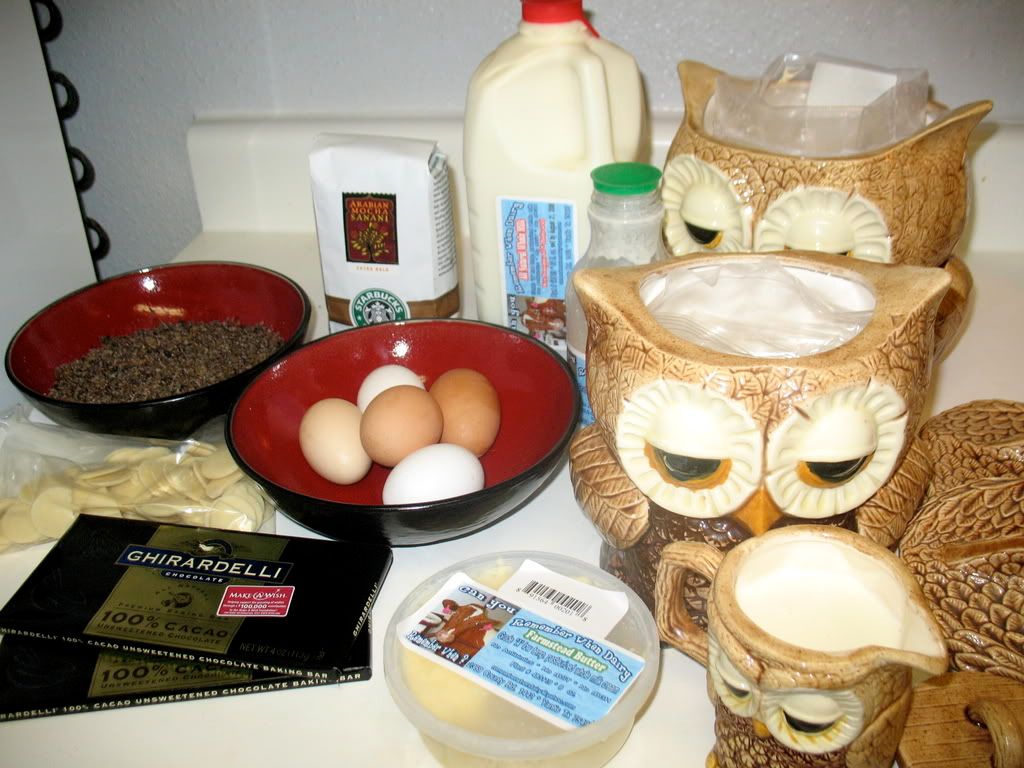
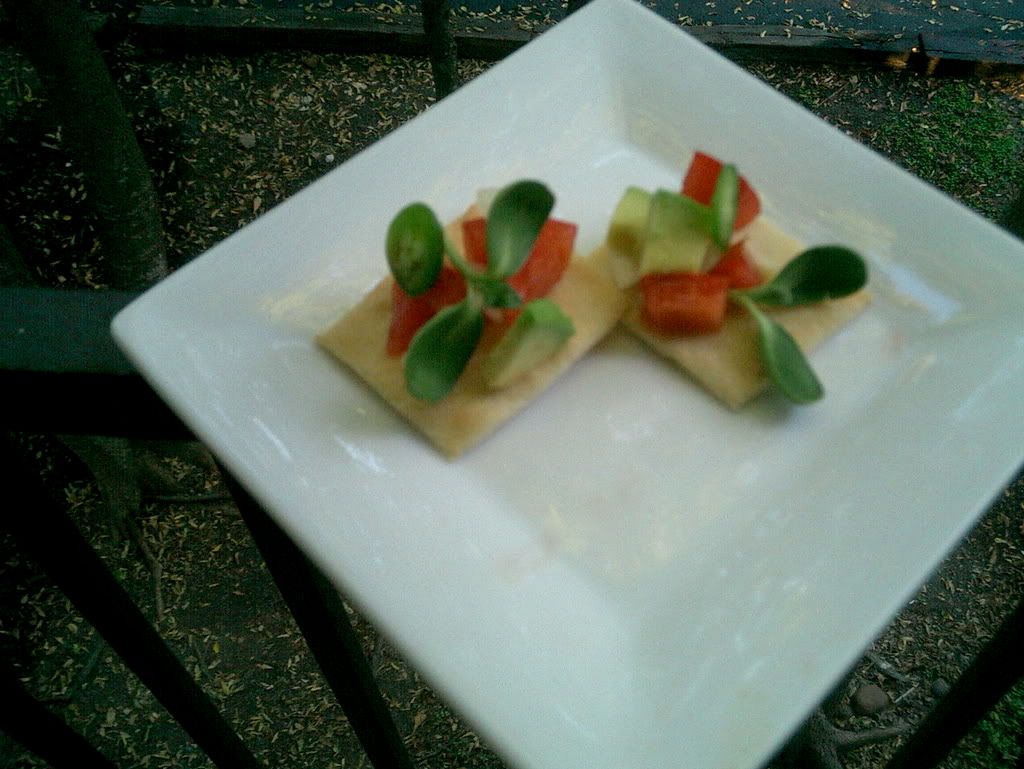
Here is the recipe for the crackers (non-gluen-free):

* 1 1/2 cups (6.75 oz) unbleached bread flour or gluten free flour blend (If you use a blend without xanthan gum, add 1 tsp xanthan or guar gum to the recipe)
* 1/2 tsp (.13 oz) salt
* 1/2 tsp (.055 oz) instant yeast
* 1 Tb (.75 oz) agave syrup or sugar
* 1 Tb (.5 oz) vegetable oil
* 1/3 to 1/2 cup + 2 Tb (3 to 4 oz) water, at room temperature
* Poppy seeds, sesame seeds, paprika, cumin seeds, caraway seeds, or kosher salt for toppings

1. In a mixing bowl, stir together the flour, salt yeast, agave, oil, and just enough water to bring everything together into a ball. You may not need the full 1/2 cup + 2 Tb of water, but be prepared to use it all if needed.

2. Sprinkle some flour on the counter and transfer the dough to the counter. Knead for about 10 minutes, or until the ingredients are evenly distributed. The dough should pass the windowpane test (see http://www.wikihow.com/Determine-if-Bre … ong-Enough for a discription of this) and register 77 degrees to 81 degrees Fahrenheit. The dough should be firmer than French bread dough, but not quite as firm as bagel dough (what I call medium-firm dough), satiny to the touch, not tacky, and supple enough to stretch when pulled. Lightly oil a bowl and transfer the dough to the bowl, rolling it around to coat it with oil. Cover the bowl with plastic wrap.

3. Ferment at room temperature for 90 minutes, or until the dough doubles in size. (You can also retard the dough overnight in the refrigerator immediately after kneading or mixing).

4. Mist the counter lightly with spray oil and transfer the dough to the counter. Press the dough into a square with your hand and dust the top of the dough lightly with flour. Roll it out with a rolling pin into a paper thin sheet about 15 inches by 12 inches. You may have to stop from time to time so that the gluten can relax. At these times, lift the dough from the counter and wave it a little, and then lay it back down. Cover it with a towel or plastic wrap while it relaxes. When it is the desired thinness, let the dough relax for 5 minutes. Line a sheet pan with baking parchment. Carefully lift the sheet of dough and lay it on the parchment. If it overlaps the edge of the pan, snip off the excess with scissors.

5. Preheat the oven to 350 degrees Fahrenheit with the oven rack on the middle shelf. Mist the top of the dough with water and sprinkle a covering of seeds or spices on the dough (such as alternating rows of poppy seeds, sesame seeds, paprika, cumin seeds, caraway seeds, kosher or pretzel salt, etc.) Be careful with spices and salt - a little goes a long way. If you want to precut the cracker, use a pizza cutter (rolling blade) and cut diamonds or rectangles in the dough. You do not need to separate the pieces, as they will snap apart after baking. If you want to make shards, bake the sheet of dough without cutting it first.

5. Bake for 15 to 20 minutes, or until the crackers begin to brown evenly across the top (the time will depend on how thinly and evenly you rolled the dough).

6. When the crackers are baked, remove the pan from the oven and let them cool in the pan for about 10 minutes. You can then snap them apart or snap off shards and serve.

DELICIOUS! Simple.

For a topping I just made a mix of tomatoes, onions, avocado, sunflower sprouts, garlic and paper-thin jalepino slices. Kind of a salsa, but not really much of a recipe. Use as much or as little of each as you want. It's most amazing if you use what's in season and ripe in your area, so go at it!

Monday, September 22, 2008

Iron Cupcake Earth: Basil Challenge


This month's Iron Cupcake challenge was to create a sweet cupcake using basil as a key ingredient. I immediately thought of two flavors: Italian and Asian. Italian was out because that might be a little too savory for a cupcake, so I went with Asian flavors. Coconut and basil are used all the time together in some of my favorite dishes! Most of those are savory too, I know, but coconut at least lends itself to sweetness as well as savory. The idea grew from there. The lychee icing sounded suitably complimentary, and I added strawberries for flavor and color. And... I have to say that this Iron Cupcake turned out even better than my last one. I could really taste the basil in this one, because of how it was added as its own element. More on that below!

Coconut Basil Mini Cupcakes with Strawberry Lychee Icing
consisting of cupcake batter, simple syrup and icing

For Simple Syrup:
8 basil leaves
1 c. sugar
1 c. water

Pour water and sugar into a sauce pan. Tear each basil leaf in half and add to the pot. Place pot over medium heat and allow the mix to come to a boil, stirring occasionally. Boil for 3 minutes then remove from heat. Let cool, then remove the basil leaves. You can store the basil syrup for a few days in the refrigerator in an airtight container.

This recipe makes too much basil syrup for this recipe, but you could use it for more cupcakes (they will go fast), or for a nice cocktail of some sort (I don't make that many fancy cocktails but I'm sure there are some out there that this would taste amazing with!).

Cupcake Batter:
1/4 c. plus 2 tablespoons softened Earth Balance Buttery Spread (or butter)
1 1/2 eggs*
3/4 c. plus 2 tablespoons sugar
1 1/2 tsp. vanilla
1 1/4 c. all purpose unbleached flour
1 1/4 tsp. baking powder
1/4 tsp. salt
1/2 c. plus 2 tbsp. coconut milk

Bring Earth Balance and eggs to room temperature. Beat the Earth Balance until soft, then beat in the egg and a half, one at a time. Beat in the sugar until the mixture becomes creamy. Beat in the vanilla Set aside. Combine the flour, baking powder and salt. In alternating batches, starting with the flour mix, beat the flour and the coconut milk into the butter mix until all 3 components are just mixed.

Preheat oven to 375. Line mini cupcake tins with papers. Scoop a little of the mix into each cup. Then, sprinkle some simple syrup onto the top of each cupcake. I used one of those squeeze ketchup bottles you can get for a few cents, and squirted a little syrup onto each. Bake the cupcakes for 10 minutes until a toothpick inserted comes out clean. It was a little hard to tell how done they were from looking, as these cupcakes are very, very white. Once you remove them from the oven, sprinkle a little more basil syrup on top and let cool for 10 minutes in the tins, then remove and cool completely on a wire rack before icing.

Strawberry Lychee Icing
5 strawberries
5 canned lychees, rinsed of their canning syrup and patted dry
1 stick of Earth Balance Buttery Spread or butter, softened but not totally soft
1 1/4 c. powdered sugar

In a food processor or mini prep, blitz the strawberries and lychees so they are a fine puree. Set aside. Beat the Earth Balance, then, in small increments, beat in the powdered sugar. Once it is all together, beat in as much of the fruit puree as you wish. This will make the icing less smooth, so use your discretion as to how rustic you want it to look. If you want, you might add some red food coloring, but I was happy with the nice pink color.

To finish the cupcakes:
Drip a few more sprinkles of basil syrup on top of the cupcakes to seal the top, then ice with the icing.

These cupcakes have a lovely flavor stream, going from the sweetness of the icing to the freshness of the basil, then finishing with the coconut basil flavors.

* I know, I know. But I wanted to make enough to only fill one pan of 24 mini cupcakes, so I had to use about half of a regular recipe, which usually uses 3 eggs. I just whisked the one egg and added half of it to the mix and threw the other half away. If you want to, you could freeze the other half. It might sound silly but I hate to waste even half an egg, and since if use half eggs as often as I do, in halving recipes, it might prove to be useful.

Thursday, September 18, 2008

September


The weather is beautiful. These flowers were blooming at the park. They stood out in the green and brown like a crazy beacon. Even my pups sniffed them. Granted, they sniff everything, but still.

Saturday, September 13, 2008

Tea Embassy

Apparently, most things I love about Austin are restaurants! And dog parks. So today... something else. Although, I suppose this is sort of gastronomically related.

I spent a day off about, oh, a month ago going to cool artistic and cultural locations around town, between running errands, which is a good type of day. Accomplishing things, and seeing art. Sweet! I hit two birds with one stone at Tea Embassy, a tiny tea shop in an old house downtown, at 900 Rio Grande.


Tea Embassy carries in the neighborhood of 200 teas, so if you don't like tea that much, chances are you'll still find a tea here that you do like. They have unflavored green, unflavored black, flavored green, flavored black, and herbal. While I was there, the nice girls behind the counter gave me three samples, a black, a raspberry herbal and a green. I ended up buying their most popular green tea, called "Almond Cookie" with ground coconuts and almonds in it. They give you steeping information, so you can make it at home to the best of its flavor, in case you're a tea novice. If you're not a novice, you'll still be amazed, because you can get such a vast amount of tea in one place. I've never seen so much! (They also have tea cups, linens and tea pots, but they were way too traditional and cutesy for my taste. I wish they had more contemporary or ironic/subversive stuff, but I wasn't really looking that hard anyway, to be honest) They do host some informative classes, which sound useful and, if they are hosted by the people I met while I was there, are probably a lot of fun as well!

Thursday, September 11, 2008

Chicago, via coffeeshops

I just went on a lovely trip to Chicago for a friend's wedding, and it was absolutely perfect. The first day it rained a lot (rain, they tell me, that was from Gustav, which I find strange, since I don't even think we got rain in Austin from Gustav. I make no claims to understand weather patterns), but the rest of the days were the kinds of clear, cool, comfortable autumn days that really make me miss the Midwest. A few excited trees had already started to change color, and the light came down in a lower angle golden glow that makes everything deepen into a richness you don't get in the bright saturation of summer. Five years in Southwesterly climes and it makes me long more and more to go back to the beauty I grew up with. Well, maybe not entirely back, but Chicago would be close enough!

To combat the dreariness of the first day, Rich and I went to three coffee shops. I had the foresight to photograph only one, so I'll tell you a little about the other two and show you about the third, which, I think, was the best.

For breakfast we went to the Bourgeois Pig, a cozy spot just off the Red Line on Fullerton. It's more of a cafe/coffeeshop, good for a drink and a meal, or just a drink, or, if you're into it, just a meal. Rich had a waffle with a blueberry for each square (I think accidentally but it was amusing nontheless), and I had some amazing granola with soy milk. It had everything but the kitchen sink - oats, honey, various nuts and seeds (including but not limited to sunflower, pumpkin, and almonds), cinnamon, crasins, raisins, and fresh strawberries on top. The coffee was only so-so, but the food was so good, and the atmosphere kind of victorian-British-cozy. There was the additionally amusing scene playing out in the same room as us of a college student and what I can only guess were a professional musician and maybe a professor talking about staging an opera in the spring. It made me long for more highbrow art, the kind of art you only get where the population is teeming with 'serious' universities, which Chicago is. Actually, you may only get that kind of artistic diversity, from students and professionals staging The Magic Flute to stand up comics zinging one-liners, in New York and Chicago. Funny, that's something I associate with a more 'serious' location, too. Somewhere where it gets cold, where people wear dark clothes. It's easy to get comfortable in Austin, the Velvet Rut, and I sometimes worry that I get too complacent.

However! We had dinner that night (rehearsal dinner for the wedding, actually) at Uncommon Ground, which used to be just a coffee shop but, like Bourgois Pig, morphed into a coffeeshop restaurant, but with the added dimension of a bar. It was kind of a strange place, with highbrow service (waiters placing your napkins on your lap for you) in a real coffeeshop environment (comfy chairs, cozy lighting). My food was okay (eggplant ravioli in heirloom tomato water) but they didn't have many vegetarian options. Chicago is kind of like that. There are places, and options, but not nearly as many as Austin. I did have two cocktails that were amazing and helped the world. Yes, I had a drink where every time someone orders one, the restaurant donates $1 to a PAWS, a charity that helps animal shelters, and another drink where every time someone orders one, they plant a tree. Get tipsy for a cause! Brilliant!


The best coffee we had, hands down, was from Intelligentsia. It's a Chicago institution, from what I've read in Food and Wine Magazine (who proclaimed it one of the best coffee spots in America, up there with Stumptown). My friends tell me there are locations all over the city and many shops sell their beans and brew, but for a real experience, I wanted to go to one of their locations. We went to the one downtown off the Jackson stop of the Red Line, just before we went to the Chicago Art Institute. It's a very European feeling shop, spare and clean with not too much food, but a definite emphasis on the coffee.


We split a Chemex for Two (which, although we like coffee we don't drink that much caffine, so it could have been a Chemex for Four for us!). It was my first experience with a Chemex method of brewing coffee, so if you're unfamiliar, I'll describe it. It's this beaker-looking glass contraption that you fit with a filter in the top, and fill with beans and pour hot water over, so it functions sort of like a non-electric brewing machine, but produces coffee comparable to a French Press. I have to say, it wasn't as oily as French Press coffee, but the flavor was clean and clear. We had coffee from Honduras, which was extremely herbal to me. It was very bright and clean, with that definite Latin American acidity. My only cons were that it wasn't as good cold, and the glass Chemex didn't do much to keep it warm, so drink fast. And enjoy!

Sunday, August 31, 2008

Daring Bakers August: Eclairs!

PIERRE HERMES CHOCOLATE ECLAIRS
consisting of 3 parts: pate a choux, chocolate pastry cream, and chocolate glaze


This month's Daring Baker's challenge was a blast! I teamed up with Kirsten of Pincushion Crumbs to prepare the elements of this delicious pastry, which we halved and altered to our own unique flavors. Neither of us wanted the sweet, sweet temptation of 24 eclairs hanging around our apartments, so we figured... 12 of each would be much more reasonable! So, mid-month we met and spent the day together baking - whisking and whisking and, as it turns out, whisking some more.


For the contest, participants were allowed to change one of the two chocolate elements to a non-chocolate one, but the other element had to remain chocolate. I chose to keep the chocolate glaze and change the chocolate pastry cream to an espresso pastry cream. I used Starbucks Arabian Mocha Sanani. These beans are amazing, with cocoa flavors and a complex, rich taste. I know they pair well with chocolate, so it seemed like a dream combination. The recipe doesn't seem that complex, but the timing of the steps is crucial. I was glad, a bunch of times, to be working with Kirsten. I cut and pasted the recipe, and added notes about our experience in blue. Enjoy! And don't be afraid to make this at home. I doubt you'll be as silly as we are, and you will love, love, LOVE the taste of these amazing pastries.

A. MAKE THE PATE A CHOUX


• ½ cup (125g) whole milk
• ½ cup (125g) water

• 1 stick (4 ounces; 115g) unsalted butter, cut into 8 pieces

• ¼ teaspoon sugar

• ¼ teaspoon salt
• 1 cup (140g) all-purpose flour
• 5 large eggs, at room temperature


In a heavy bottomed medium saucepan, bring the milk, water, butter, sugar and salt to the
boil. Once the mixture is at a rolling boil, add all of the flour at once, reduce the heat to medium and start to stir the mixture vigorously with a wooden spoon. The dough comes together very quickly. Do not worry if a slight crust forms at the bottom of the pan, it’s supposed to. You need to carry on stirring for a further 2-3 minutes to dry the dough.

Okay, y'all. When dairy boils? It BOILS! It's not messing around. Boiling dairy waits for no cook. There I was, whisking (as it turned out, this became a common theme of the day) what seemed to be heated dairy, when BAM!

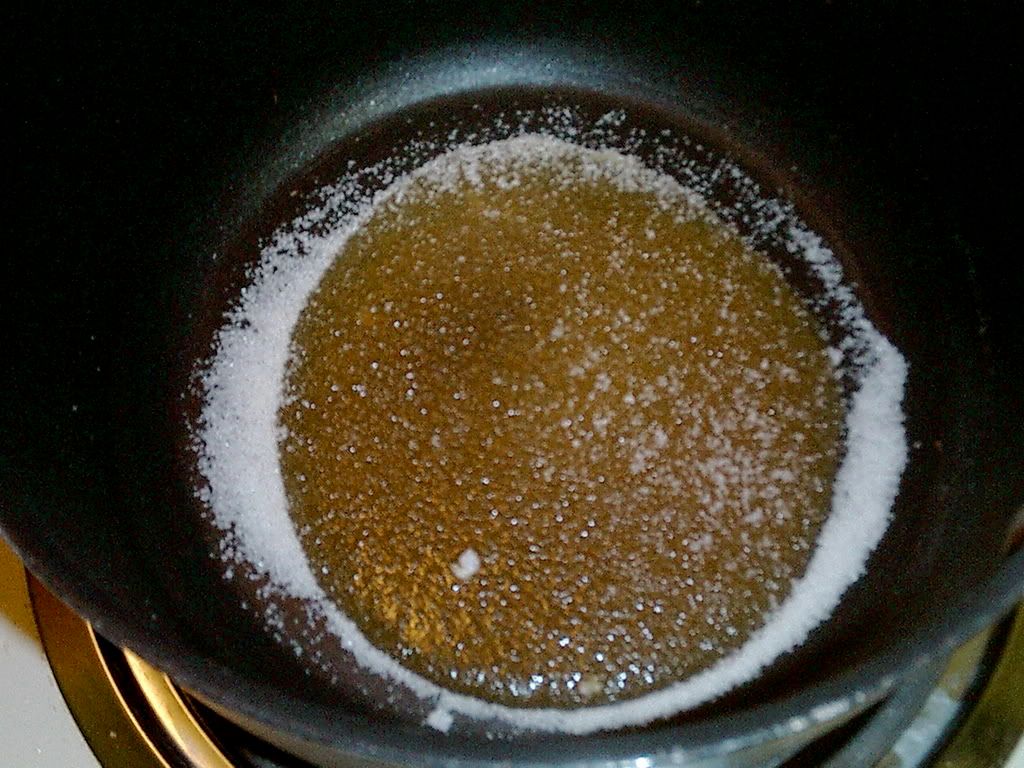
It's boiling! Everywhere!

For the first time, I was glad to have someone else there to dump in the flour! Stir, stir, stir. And then stir some more.
After this time the dough will be very soft and smooth. Transfer the dough into a bowl of a mixer fitted with the paddle attachment, or using your hand-mixer or if you still have the energy, continue by hand (HA!). Add the eggs one at a time, beating after each egg has been added to incorporate it into the dough. You will notice that after you have added the first egg, the dough will separate, once again do not worry. As you keep working the dough, it will come back all together again by the time you have added the third egg (or so. Ours was back together by the time all the eggs were in). In the end the dough should be thick and shiny and when lifted it should fall back into the bowl in a ribbon. You must shape the eclairs immediately, while the dough is still warm.

B. MAKE THE ECLAIR BODIES AND COOK THEM


Preheat your oven to 375 degrees F (190 degrees C). Divide the oven into thirds by positioning the racks in the upper and lower half of the oven. Line two baking sheets with waxed or parchment paper. Fill a large pastry bag fitted with a 2/3 (2cm) plain tip nozzle with the warm cream puff dough. Pipe the dough onto the baking sheets in long, 4 to 41/2 inches (about 11 cm) chubby fingers. Leave about 2 inches (5 cm) space in between each dough strip to allow them room to puff. The dough should give you enough to pipe 20-24 éclairs.

We made mini-eclairs, so we had more. Mine were more along the lines of round cream puffs. I wondered how such a thick dough was going to transform into a light, airy, hollow eclair. But don't worry like I did. It will. Heat will take care of it!


Slide both the baking sheets into the oven and bake for 7 minutes. After the 7 minutes, slip the
handle of a wooden spoon into the door to keep in ajar. When the éclairs have been in the oven for a total of 12 minutes, rotate the sheets top to bottom and front to back. Continue baking for a further 8 minutes or until the éclairs are puffed, golden and firm. The total baking time should be approximately 20 minutes.

Ours did not take 20 minutes! I don't know if it was because they were mini, or the oven temp was off, or what, but ours took only 12 minutes total to cook before the bottoms were getting a little crisp.

After 12 minutes, they looked a lovely golden color!

Keep a close, close watch on them. They are too good and already you've done too much whisking and mixing to lose them!


The éclairs can be kept in a cool, dry place for several hours before filling.


Um... we left them for, like, 1 hour maybe. It still worked out. Also, we kept them in the kitchen, which was warm-ish. Don't be afraid if you're pressed for time.

C. MAKE THE ESPRESSO PASTRY CREAM
AND FILL THE ECLAIR BOTTOMS

• 2 cups (500g) whole milk
• 4 large egg yolks

• 6 tbsp (75g) sugar
• 3 tablespoons cornstarch, sifted
• 2 shots of strong, delicious espresso

• 2½ tbsp (1¼ oz: 40g) unsalted butter, at room temperature

In a small saucepan, bring the milk to a boil. Be ready for it! Again, it's going to sneak up on you. We yanked the pot from the stove in an effort to prevent it from boiling everywhere. But, it turned out okay. Have a partner ready to help you do the next step, since it gets done at the same time. Yet agian, I was glad we were working together! In the meantime, combine the yolks, sugar and cornstarch together and whisk in a heavy‐bottomed saucepan. (Whisk, whisk, whisk) Once the milk has reached a boil, temper the yolks by whisking a couple spoonfuls of the hot milk into the yolk mixture. Continue whisking and slowly pour the rest of the milk into the tempered yolk mixture. (Whisk) Strain the mixture back into the saucepan to remove any egg that may have scrambled.

Place the pan over medium heat and whisk vigorously (without stop) until the mixture returns to a boil.
(Whisk! Whisk! Feel the burn!) Keep whisking vigorously for 1 to 2 more minutes (still over medium heat). Stir in the espresso shots and then remove the pan from the heat. Scrape the pastry cream into a small bowl and set it in an ice‐water bath to stop the cooking process. Make sure to continue whisking the mixture at this point so that it remains smooth. (Whisk? Yes. Oh yes.) Once the cream has reached a temperature of 140 F remove from the ice‐water bath and stir in the butter in three or four installments. Return the cream to the ice‐water bath to continue cooling, stirring occasionally, until it has completely cooled. The cream is now ready to use.

During this time, I was mightily convinced that my cream wasn't creamy enough. It did turn out a little runny. I think this was because I omitted the chocolate, which would have firmed it up a bit, and replaced it with more liquid. I'd maybe add a bit more cornstarch, just a pinch at a time, to try to thicken it up a bit.
At the point right after we strained the mixture and returned it to the stove, Kirsten and I split the mix in half and she prepped her half, with the lavander flavor, while I prepped my half with the espresso elements. So, if you're going to make a whole batch of espresso cream, remember to use 4 shots of espresso, and not just 2!!

Using a serrated knife, gently halve the eclair bodies horizontally. Place the tops on a cooling rack over a layer of foil or parchment. Place the bottoms on a plate. Fill the bottoms with the pastry cream and allow to set while you make the glaze.


D. MAKE THE CHOCOLATE GLAZE AND GLAZE THE TOPS


Make the Chocolate Sauce:
• 4½ oz (130 g) bittersweet chocolate, finely chopped
• 1 cup (250 g) water

• ½ cup (125 g) crème fraîche, or heavy cream

• 1/3 cup (70 g) sugar

Place all the ingredients into a heavy‐bottomed saucepan and bring to a boil, making sure to stir constantly. (We're stirring now, not whisking. Don't you feel better?)

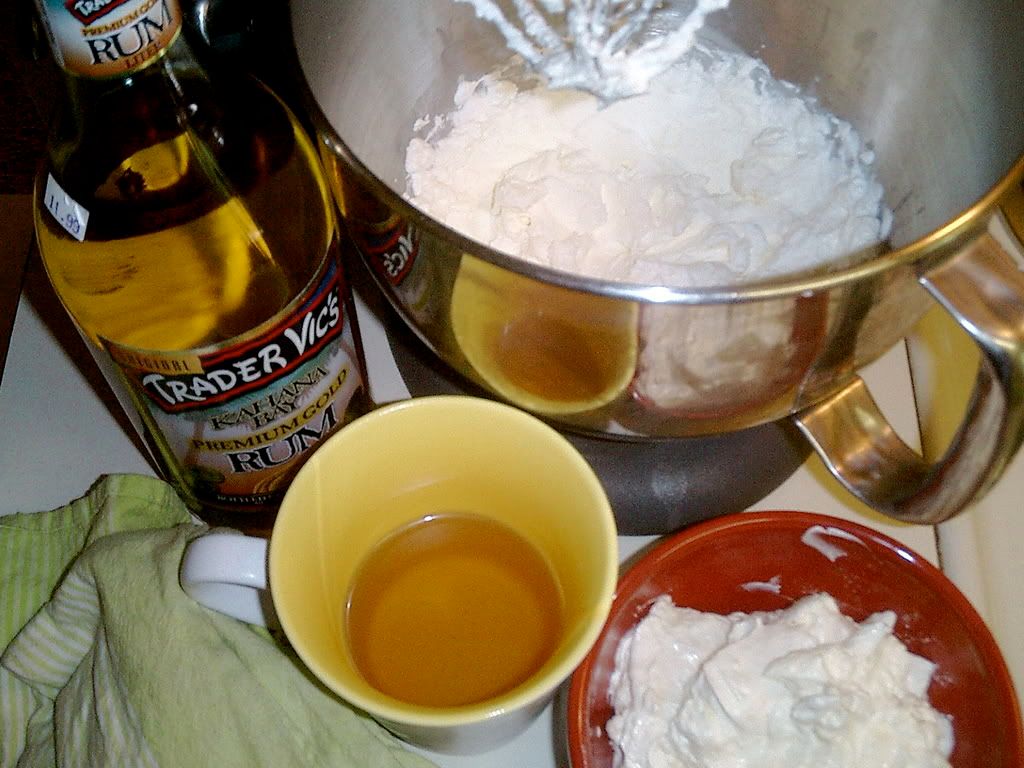
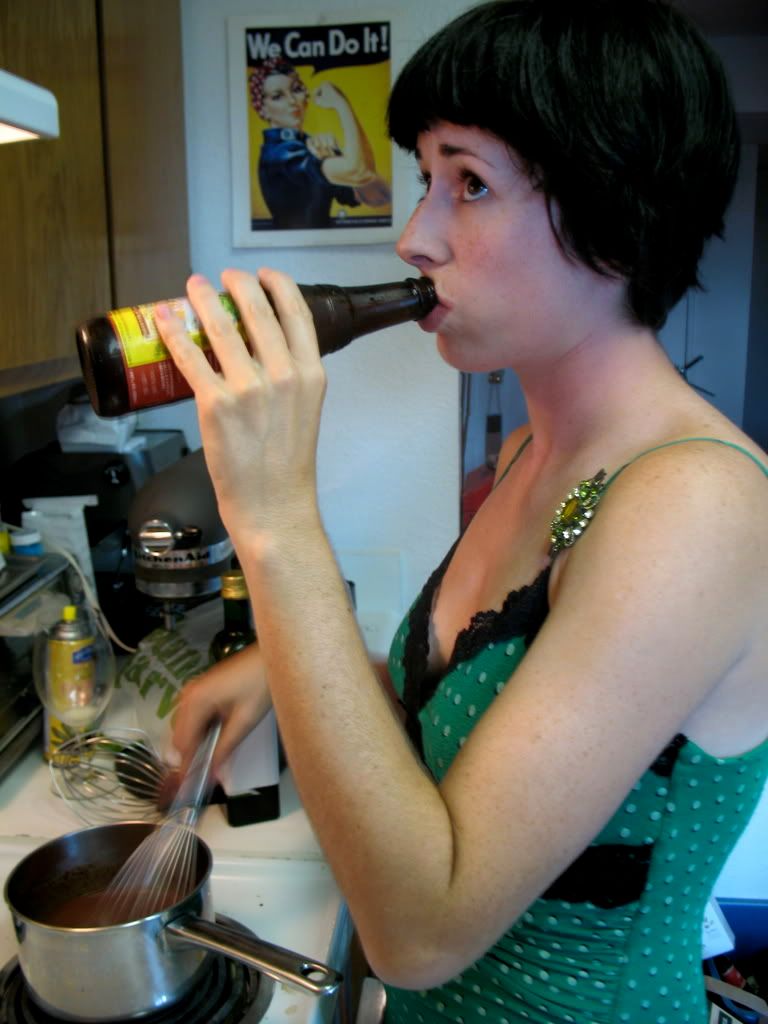
I feel better. Wait, no. I'm still whisking. It must be the beer.
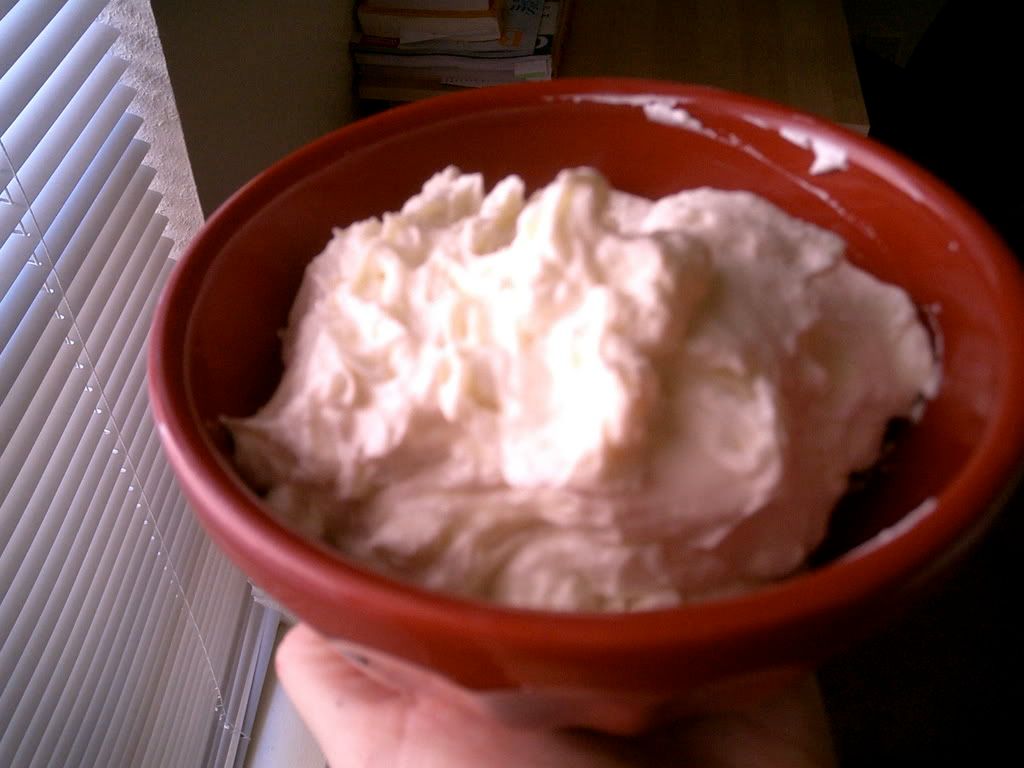
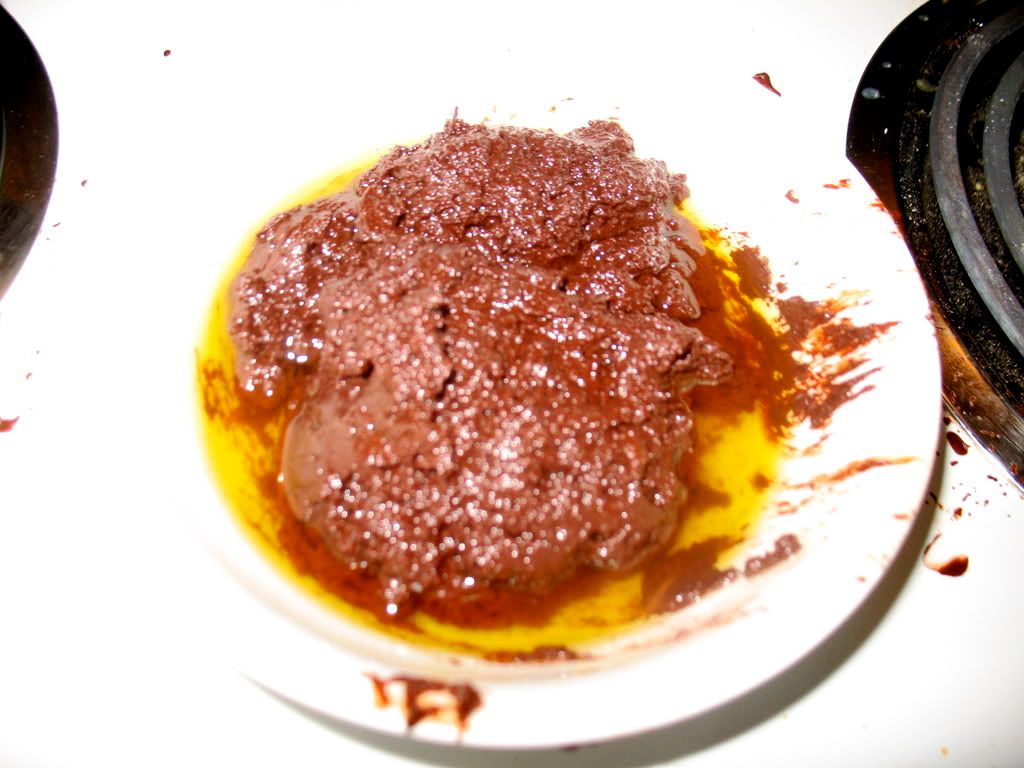
Then reduce the heat to low and continue stirring with a wooden spoon until the sauce thickens. It may take 10‐15 minutes for the sauce to thicken, but you will know when it is done when it coats the back of your spoon. It only took our sauce about 5-10 minutes to thicken, which was awesome.

Then use the chocolate sauce to make the Chocolate Glaze:

• 1/3 cup (80g) heavy cream
• 3½ oz (100g) bittersweet chocolate, finely chopped
• 4 tsp (20 g) unsalted butter, cut into 4 pieces, at room temperature

• 7 tbsp (110 g) Chocolate Sauce, warm or at room temperature

In a small saucepan, bring the heavy cream to a boil. Remove from the heat and slowly begin to add the chocolate, stirring with a wooden spoon or spatula. Stirring gently, stir in the butter, piece by piece followed by the chocolate sauce.

I have no idea what happened or why, but this part? Did NOT work for us! Instead of having a nice, melted chocolate in heavy cream with butter deliciously folded in, we got... a floating glob of chocolate hardness in a sea of butter. It was... gross.

See? Gross.

So, in order to save the recipe, we didn't stir in the chocolate sauce. We used just straight sauce in place of the glaze, piping it in ribbons across the eclair tops.


It turned out elegant, I think, and quite tasty. It wasn't your typical eclair, of course. But it looked refined and tasted rich and understated.


Pincushion Crumbs long mini-eclairs and my puff eclairs


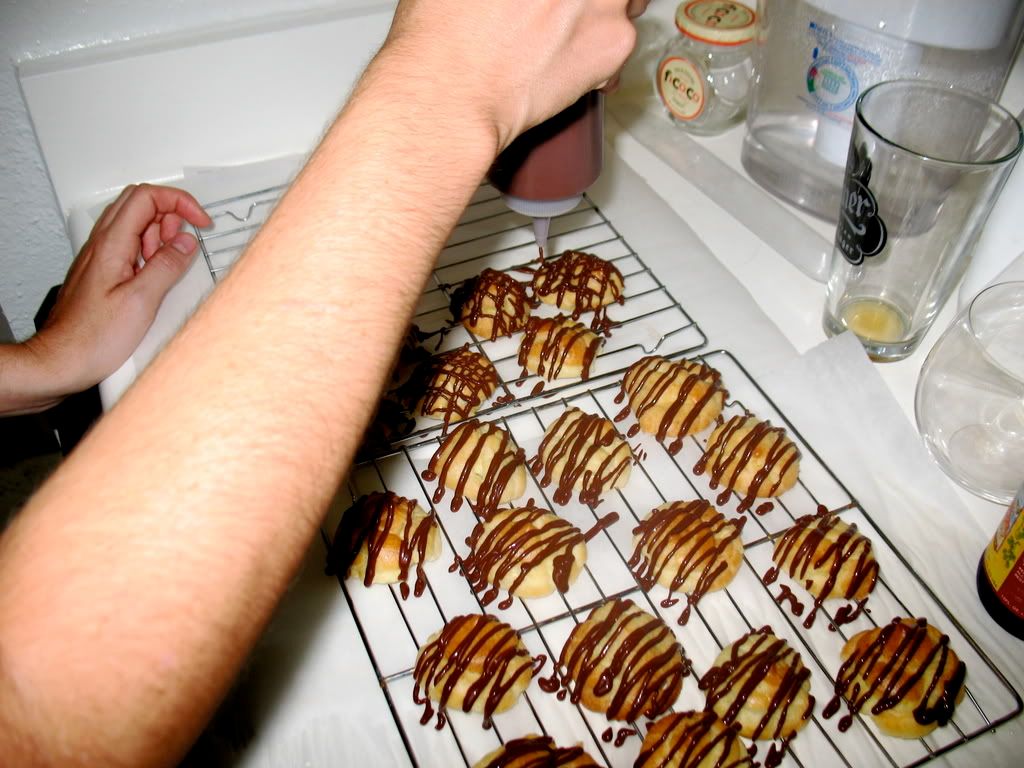
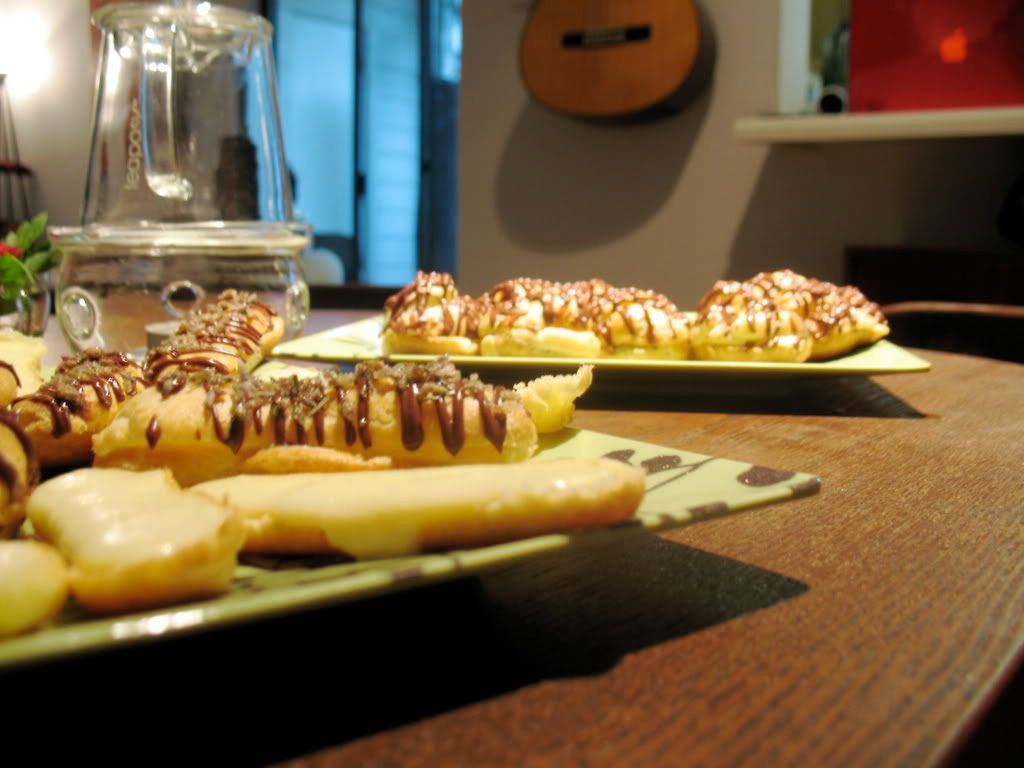
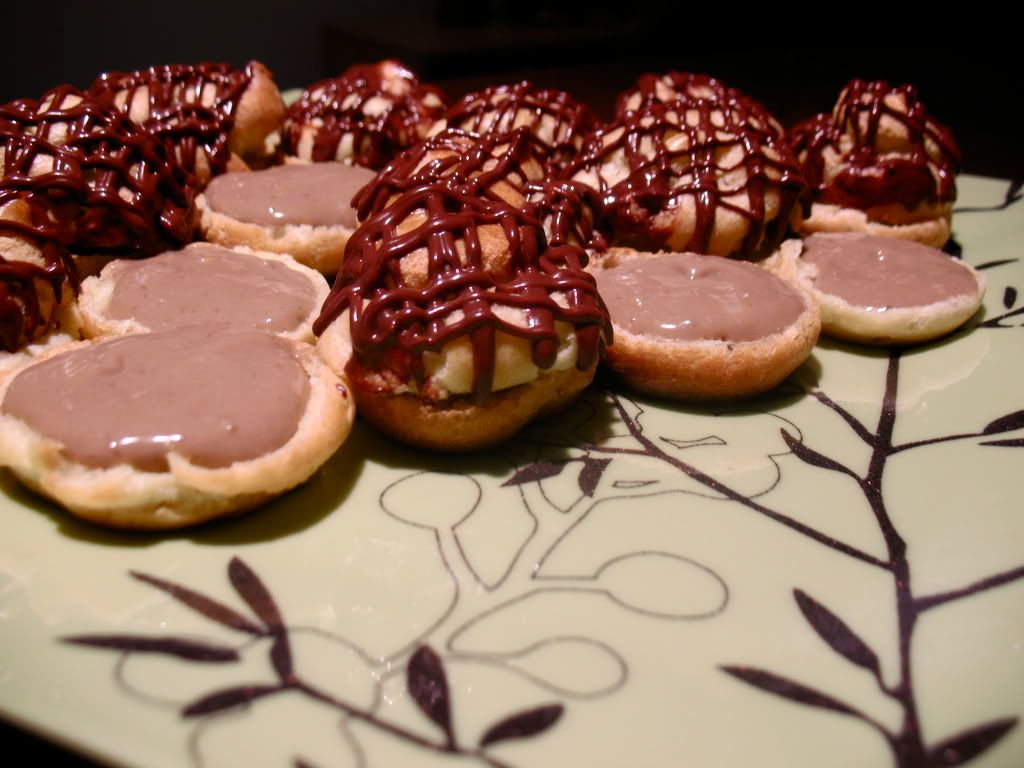
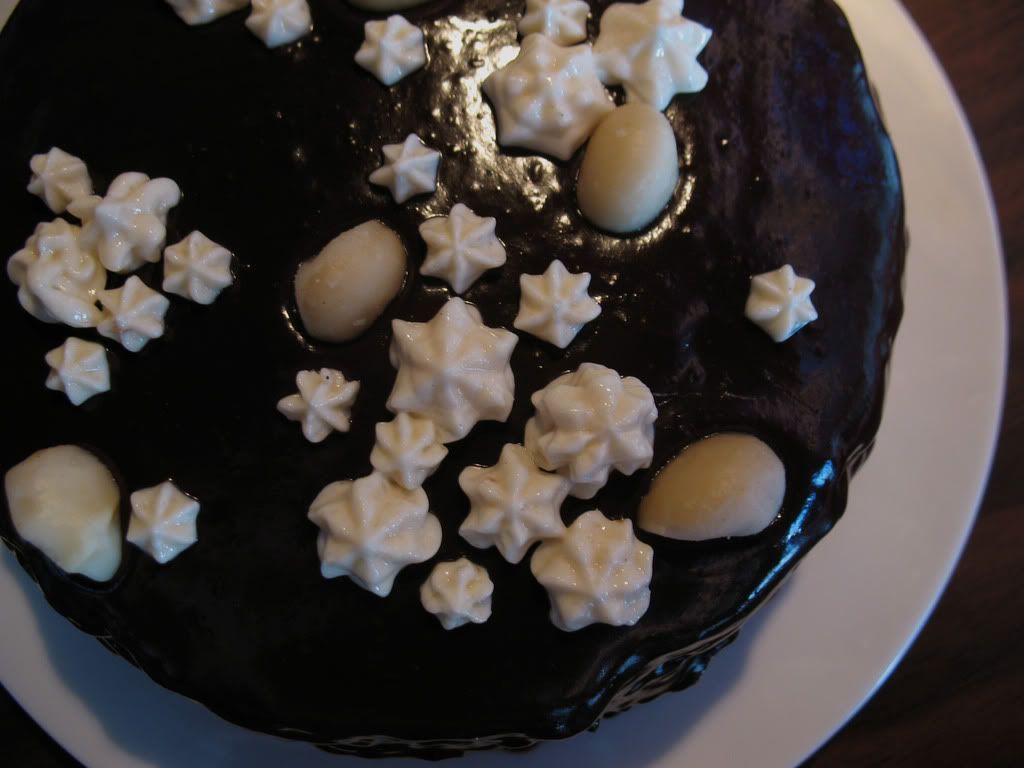
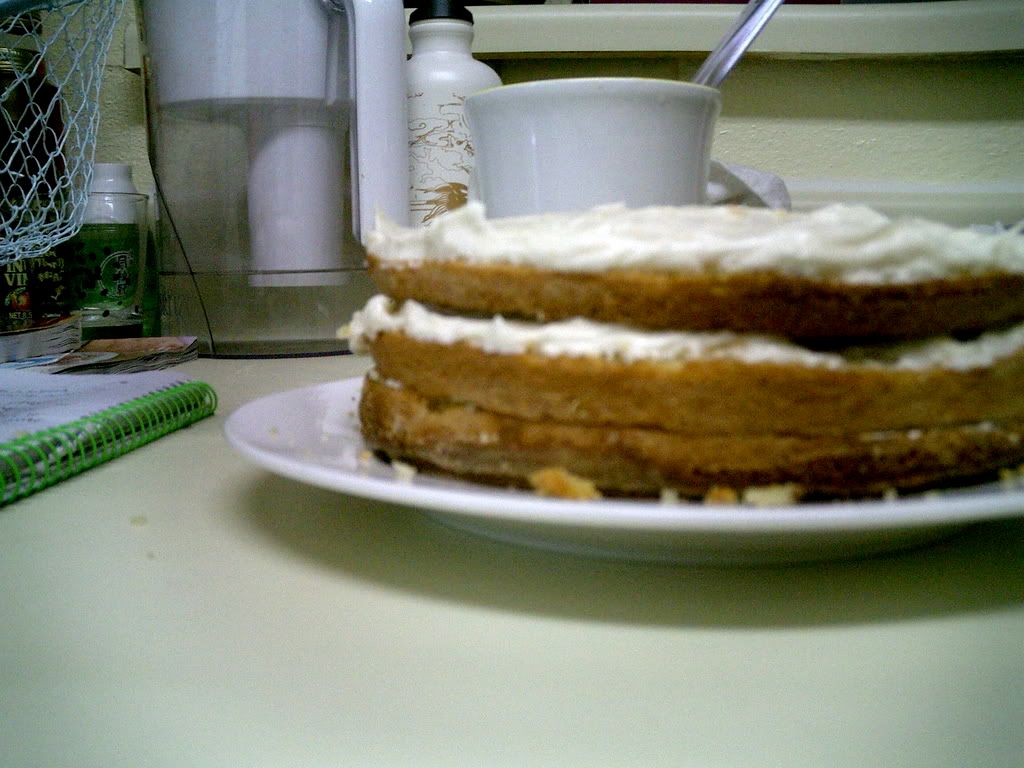
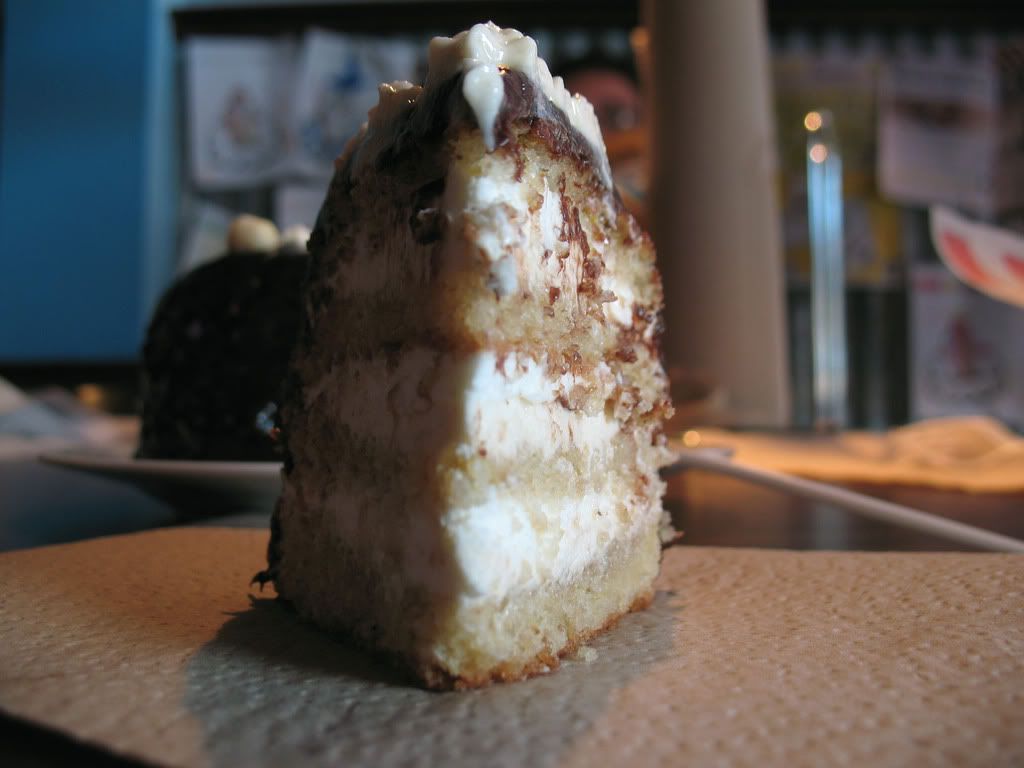
In the end, we were tired. But happy.

Friday, August 29, 2008

Iron Cupcake:Earth Challenge - Chili


A Thing I Do Not Like About Austin is that it's so hot here all the time.  I get tired of the heat.  I'm from Ohio originally, and lived in California for a few years before settling in Texas.  I miss the four complete seasons, honestly (which we didn't really get in California, but it was certainly closer than Austin.  It's just hot, hot, hot, then winter, then hot.  Around this time, with school starting, even though I'm no longer involved in school, and September practically hours away, I start expecting fall to come, and crisp weather to allow me to wear jackets, and leaves to change.  And even though I know I won't get that, really, I still long for the colors and tastes of fall.  That's where I really started, with this longing, when I started thinking about this contest.

My specific inspiration came from a few places.  First, in terms of cooking sweet things with peppers, I have very little experience. I know and loooove chilis in all kinds of savory foods (one of the real benefits of living in California and Texas was getting the variety of splendid Mexican, Tex-Mex, and MexiCali flavors that it's still hard to find in Ohio!)  I consulted my New Vegetarian Epicure cookbook by Anna Thomas.  She can put a chili in everything (and I love it).  She had a recipe for a Chocolate and Chile torte, which was a starting point for me.  I didn't want to do something like a torte, and, because of my participation in the Daring Bakers, I am a little chocolate-ed out.  But she mentioned that the cake had an almost gingerbread-like flavor, only with a kick.  So... I thought a gingerbread-esque cupcake might be different, and delicious.  Then I got to thinking with such a spicy cake, I might want a sweeter icing, and at work we sell a gingerbread with cream cheese icing... so I decided to incorporate a cream cheese icing.  Only, I think the chocolate would still be good with the peppers, so I would make a chocolate cream cheese icing.

Second, in terms of the chili, I was inspired by living in Austin!  There are certainly a lot of chilis here, but this time of year happens to be the celibration of the Hatch chili at Central Market, a big grocery store in Austin.  The Hatch Chili hails from the Hatch Valley of New Mexico, and is a long, thin green chile.  I chose the mild variety, with very little heat, only rich chili flavor.

The recipe is a look forward to fall, a celebration of the Hatch chile, and the excitement of the local shopping I was able to do to to create it!

Spicy Hatch Gingerbread Cupcakes with Chocolate Cream Cheese Frosting

I started by sauteeing 1/2 a mild Hatch chili in 2 tbsp of the 1/2 cup of butter used in the recipe.  I used a mild chili to add some spice to the gingerbread base I was making, infusing some of the butter as well to spread the flavor throughout.

I mixed 1 1/2 c. unbleached white flour, 3/4 tsp cinnamon, 3/4 tsp ground ginger, 1/4 tsp. cardamom and 1/2 tsp baking soda.  Meanwhile, on medium I beat the whole 1/2 c. Earth Balance with chilis in the electric mixer to soften it.  After it was soft, I added 1/4 c. brown sugar and creamed the two together.  I added 1 egg and 1/2 c. mild molasses.  Then, I beat in 1/2 c. water and the flour mixture in alternate batches. 

I lined 12 cupcake tins with paper wrappers and baked them at 350 for about 15 minutes, till a toothpick stuck in the center came out clean.  I let them cool while I made the icing.
For the icing I softened 4 oz. cream cheese in the upright mixer, then added 1/4 c. Earth Balance and 1 tsp. vanilla.  Then I added 1/4 c. Dutch process cocoa powder and about 3 cups of powdered sugar.  It made a rich, creamy, delicious icing that is a lovely counterpoint to spiced cupcake.  Sweet with a very, very mild hit of flavor.  Mmm!

Wednesday, July 30, 2008

My First Daring Baker's Challenge!


This month is the first that I was a part of the Daring Baker Challenge!  I joined this group because I have almost no baking experience, and wanted to get some.  Of course, I also (clearly) like to start out by throwing myself into the fire.  This month's recipe: Filbert Gateau with Praline Buttercream.

Um, wow.  Impressive.  Actually, I wasn't as nervous as I thought I would be.  It looked like it would take a long time to make, but not like it would be totally overwhelming.  So... good.  :)

The cake has a TON of steps: one filbert genoise (I substituted a different nut), dark rum flavored simple syrup, praline butter cream, whipped heavy cream, fruit jam glaze, ganache, and toasted nuts.  It had to involve nuts and butter cream on top (I'm not a huge icing fan, so I decided to keep that to a minimum.).

For the cake: I made a four layer, 4" round cake, which required a half batch of the gateau recipe.  For the nut, I used macademia, instead of the filbert.  I had a lot of macademias on had, so it seemed like a good pick.  For the fruit glaze: I used pineapple preserves.  Pineapples and macademias!  Perfectly tropical, and decadent.  


The most difficult part for me was caramelizing the sugar to make the praline for the butter cream.  I have tried to make caramel before and it turned out burned, hard and generally aweful.  But this time - perfect!  The sugar melted from the inside of the pan out. Look at that!  Beautiful.  


There is also a lot of nuts being made into fine meals, and I was concerned that I would accidentally blitz too much and make a butter.  Luckily, I only have a mini-prep (who says that??) and so I was able to keep from overgrating.  


Also, I hear a lot of horror stories about making buttercream, but mine came together all at once.  I don't know - beginner's luck.  I might leave it at that, though... because as it turns out, I don't like icing (ick) and I particularly don't like buttercream.  So, a talent, wasted.  


It sure looks nice, though.


I have also never made a cake with layers, by cutting one pan's worth of cake horizontally into very thin slices.  This was one of the harder parts.  If you have some fancy cake-making stuff, something round that spins so you can keep your knife still and move the cake, it's apparently much easier.  I had to make do with my hands and a lot of micro-turns.  It's not very even, but... luckily that icing was there to even it out!


The ganache is beautiful.  So shiny.  Almost too shiny to photography... and delicious... almost too delicious to eat... mmmmm.... 


The end result?  I think it's very beautiful.  It's not my personal taste in food, and it's so much heavier than most food that I eat, even dessert.  But... it's good to look at.  And I'm impressed that I made it!  In that way, this challenge really did push me.  Because it forced me outside of my box in oh, so many ways - baking, complex recipes, taste, richness... I like to explore.  


Be careful, though.  This cake will come for you!


Thursday, July 24, 2008

Blue Dahlia Bistro, and Eating Simply

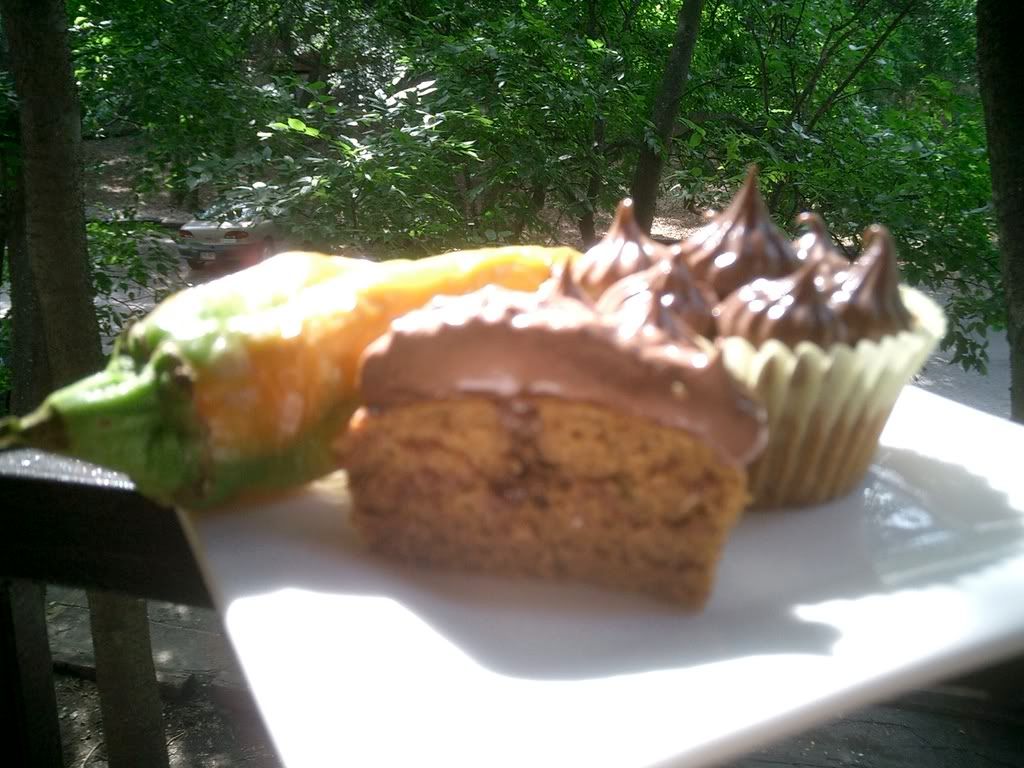
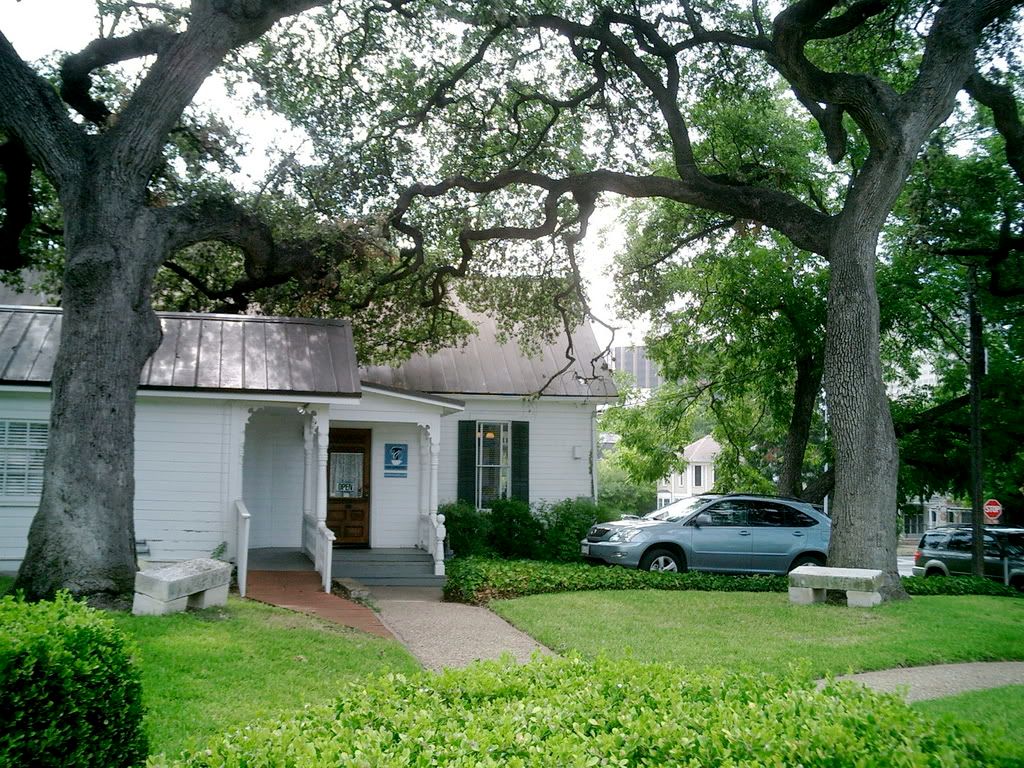
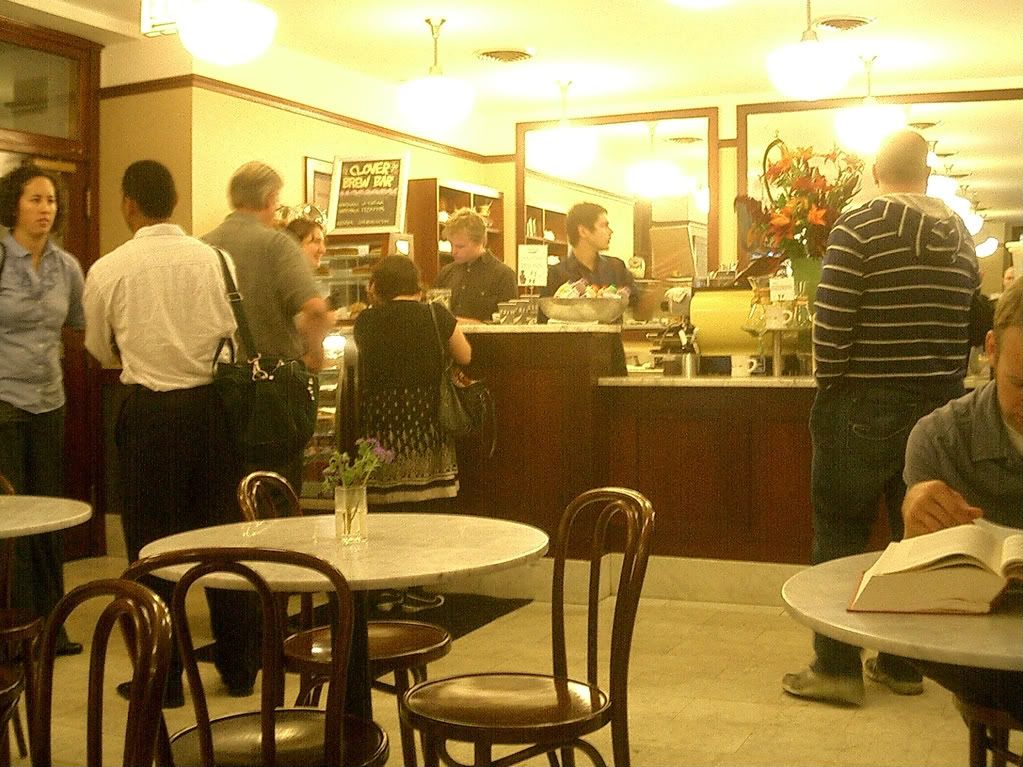
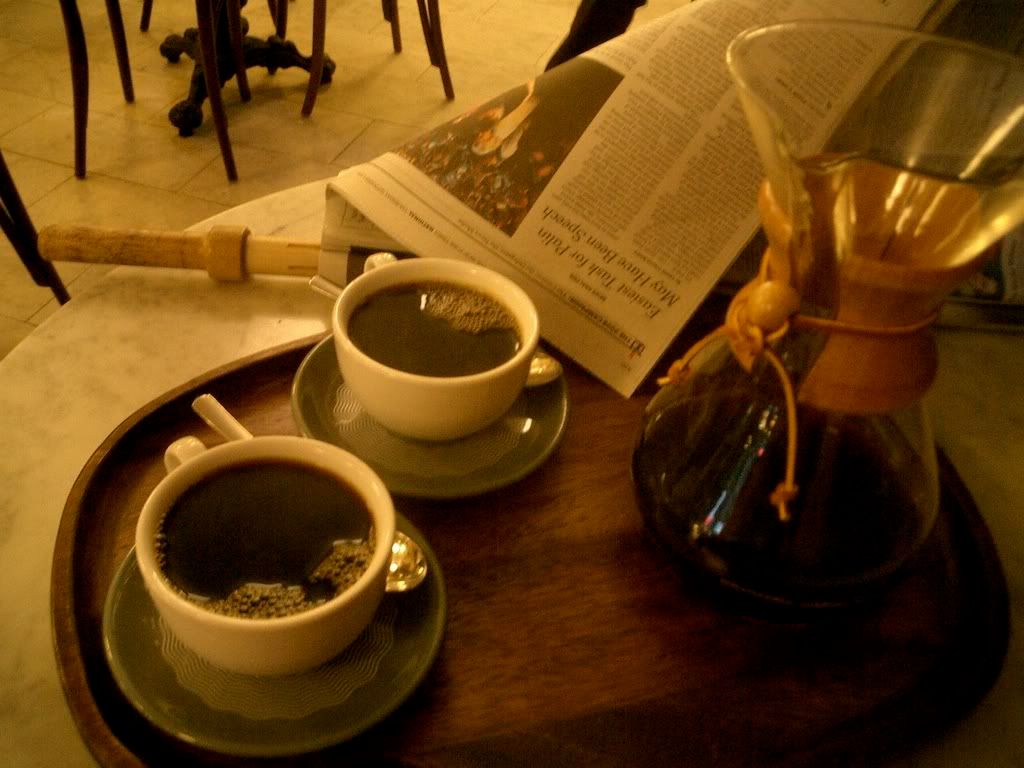
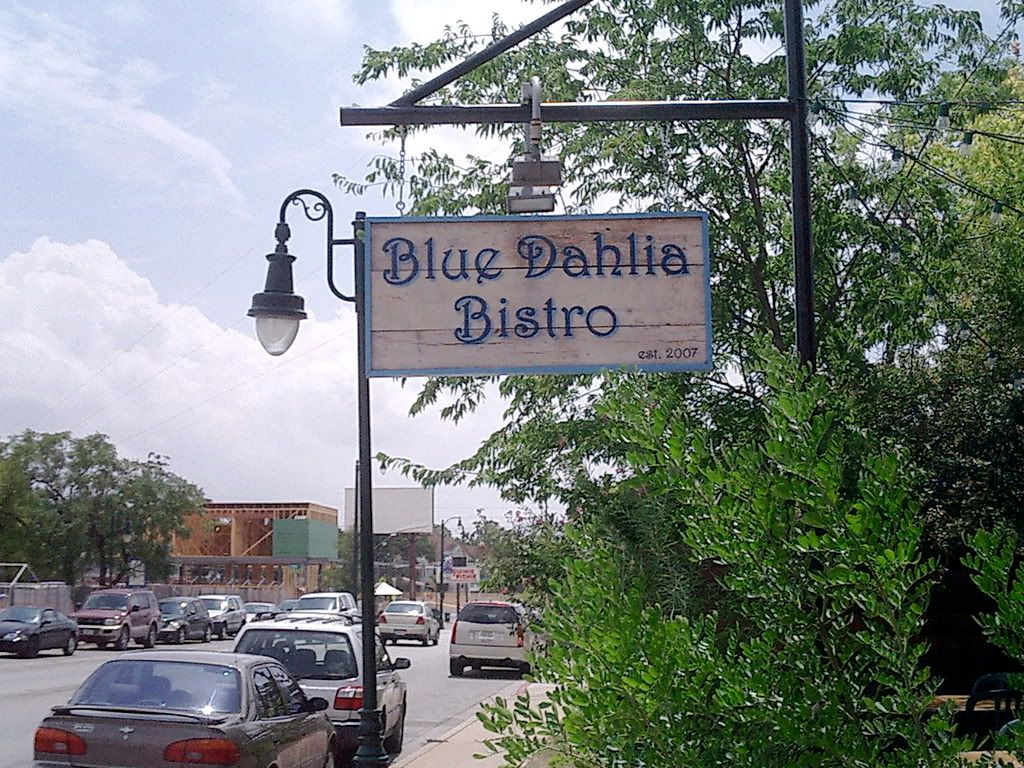
The Blue Dahlia Bistro is one of my favorite places to eat in Austin. It's on E. 11th Street, in the very up-and-coming, new-gentrification part of town. All changes to the city-scape aside, it's one rare and amazing place to eat.

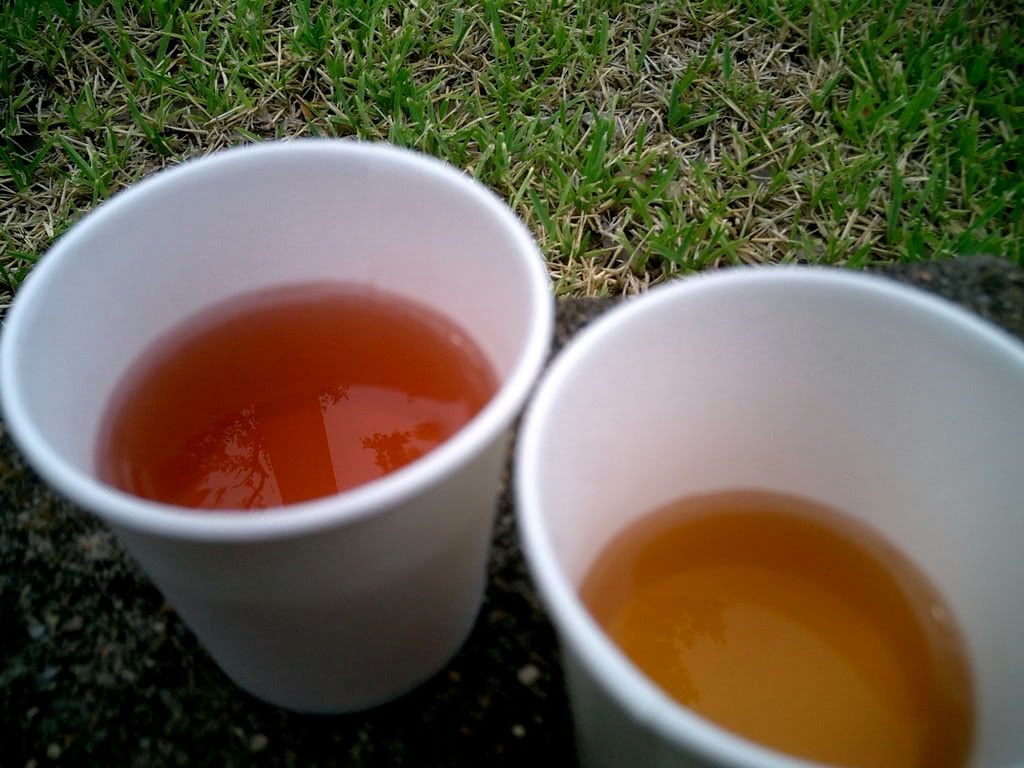
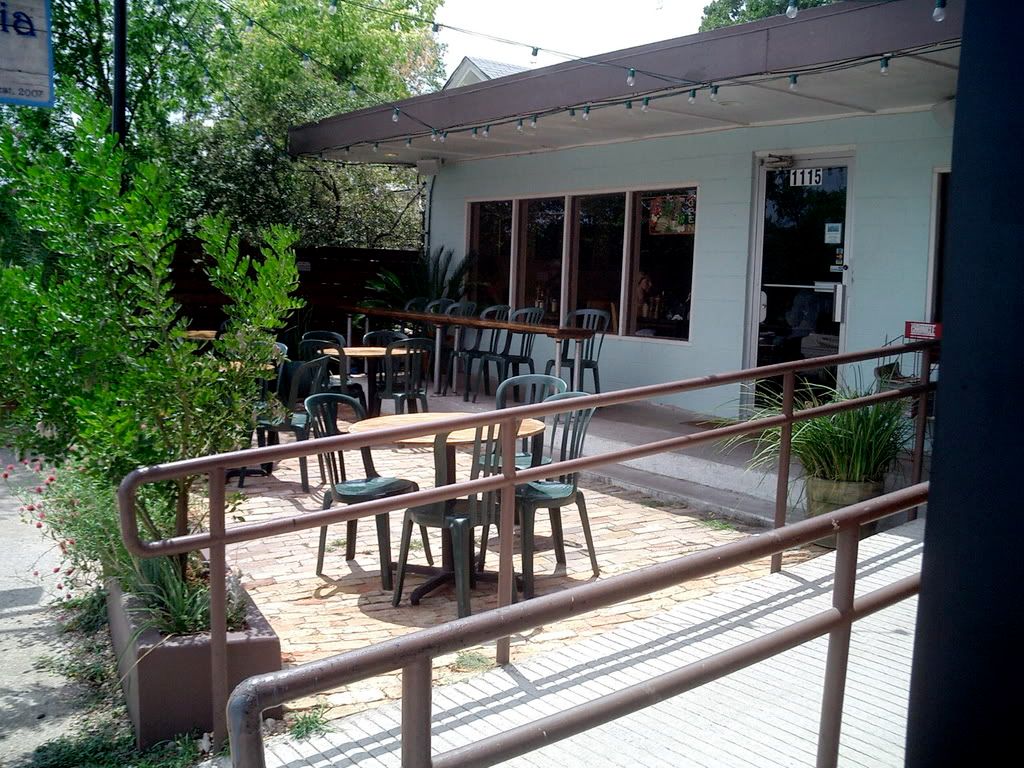
To begin, the menu is simple but delicious. My first time there, I had the vegetarian frittata of the day, which had summer squash, red pepper and some mouth-watering cheese I couldn't identify. I also got a heavenly fresh-made lemonade with hand-cut mint. Lemons, water, sugar, mint. That is all. The fritattas are served with a side salad and some chunks of amazing bread. There are olive oil, high-quality balsamic vinegar, salt and a pepper mill on the table for you to dress your own salad, and the bread is accompanied by a trio of spreads (soft, warm Nutella, raspberry preserves and orange marmelade). Everything on the plate is so simple, but of such quality that it is almost mind blowing-ly delicious. The portions are managable. The plates are beautiful. It's the kind of place that reinforces my belief that you don't need complexity when you have quality.

My second trip, I had a brie, apricot jam and walnut tartine, which is a sort of open face sandwich on five small rounds of bread. Again, so simple. Brie, jam, bread, walnuts. A little lettuice for garnish and to eat, a slice of melon. Served on a rectangular bit of slate.

The whole menu is like this. Simple food. Tartines, a few appatizer plates, fritattas, salads, a few dinner plates, some simple desserts, a wide selection of non-alcoholic drinks, a few beers, a decent selection of wines. The thing is, it doesn't need more. It doesn't need manipulation because it's organic, high quality, local when possible so as fresh as can be.

The bistro is beautiful itself. You seat yourself in tables for 2, 4, or long tables for big parties or to sit 'family style'. It's got a simple aesthetic, with a lovely back garden area, and fresh bread and pastries available by the register. I cannot reccomend this place enough!

It got me thinking about food, as well, which... in case you couldn't tell, I do a lot! And I love that such simple things can be so amazingly good. You don't have to slave over something lavish to excite your mouth and eyes. You can, and it has it's place, certainly. But you can just get fresh local greens, a bit of dressing, and be caught up in the beauty of it all. I was inspired to make my own simple dinner after attending one night.


Salad: local sunflower sprouts, one diced mango, one diced avocado, a squeeze of lime, a very light sprinkling of lime salt from Central Market. I didn't even need a dressing! It dressed itself, which I can appreciate after a long day.

Dill Harvati Cheese and Whole Wheat Crackers from Sun Harvest.

A sliced kiwi

Fresh yogurt from Remember When Dairy Farm from the Sunset Valley Farmers Market, with shredded cucumber, minced fresh mint, walnut pieces, and pepper

I know this isn't much of a recipe, but a meal doesn't really have to be a recipe to cover all your nutrional bases and appatize your eyes - not to mention your mouth!

Thursday, July 17, 2008

My Favorite Barbecue Sauce - What to Do!


I so desperately want a camera with a macro capacity! Soon. For now I have to pay off a few other things... but someday.... soon... my pictures will be in focus, and then I can concentrate on framing instead of getting far enough away to be in focus but close enough to focus on the food....

So. I got a bottle of Gates BBQ Sauce as a thank you for dog-sitting. It was a nice surprise, given that I wasn't really expecting anything, and that I LOVE Gates! It's a famous restaurant in Kansas City that serves all kinds of meaty meat things, but since I do love the sauce, I decided to make a vegetarian version. I've also been reading about how to get crispy pan-fried tofu. I love when the exterior is crisp. I really don't like it at all if its mushy, through and through. It has to be crispy outside. I've tried many times, cooking it longer, using less oil, using more oil, heating the pan to a higher temperature. And after many tries, I came upon the secret one day while searching the Internet. I found it on The Kitchen at Apartment Therapy, but it's a secret I've since seen everywhere (it seems). It's corn starch. Toss the tofu with corn starch and then pan fry it and voila! Crispy crust. Delicate interior. The perfect vehicle for my bottle of sweet, hot sauce.

I also recently bought a rice cooker. For a long time, it seemed like a useless indulgence. Why would I need a rice cooker when I could just cook rice in a pot, which I already have? Then, again, I saw a discussion online, where the blogger asked (I forget which blog, I'm sorry! If it's you, let me know) whether or not they should get a rice cooker, and out of 50 or so responses, ALL of them were pro-cooker. So... I began to think that maybe they are better than a pot. I promptly got one at target, a medium-sized one since I live alone and don't cook for huge groups that often, with a keep warm function and a vegetable steamer. And I have to admit, it's great. It cooks the rice perfectly every time, and keeps it warm, it frees up a burner on the stove, it doesn't heat up my already warm apartment, and it's a snap to clean. If you like to eat rice, I highly advise one!

In addition to being inspired by the barbecue sauce, rice maker and new way to cook tofu, I decided to make a sort of Southwest-Asian fusion dish. Ish. With kind of Mexican flavors. Basically, I had all this stuff in my pantry and didn't want to go shopping. And it was so simple, just basic recipes that I've made so often they're already in my head all the time, without even needing to consult the internet or a cookbook for.

For me, this is very exciting. I always use a recipe. I might modify the recipe, but I don't go without that often. I have been trying to get away from my reliance on the printed word, but I still have trouble knowing how to match things, combine flavors, correct acidity or sweetness, create a correct ingredient proportion, etc. So this dinner, finally, turned out successfully, and I already knew how to throw it together myself. Exciting!

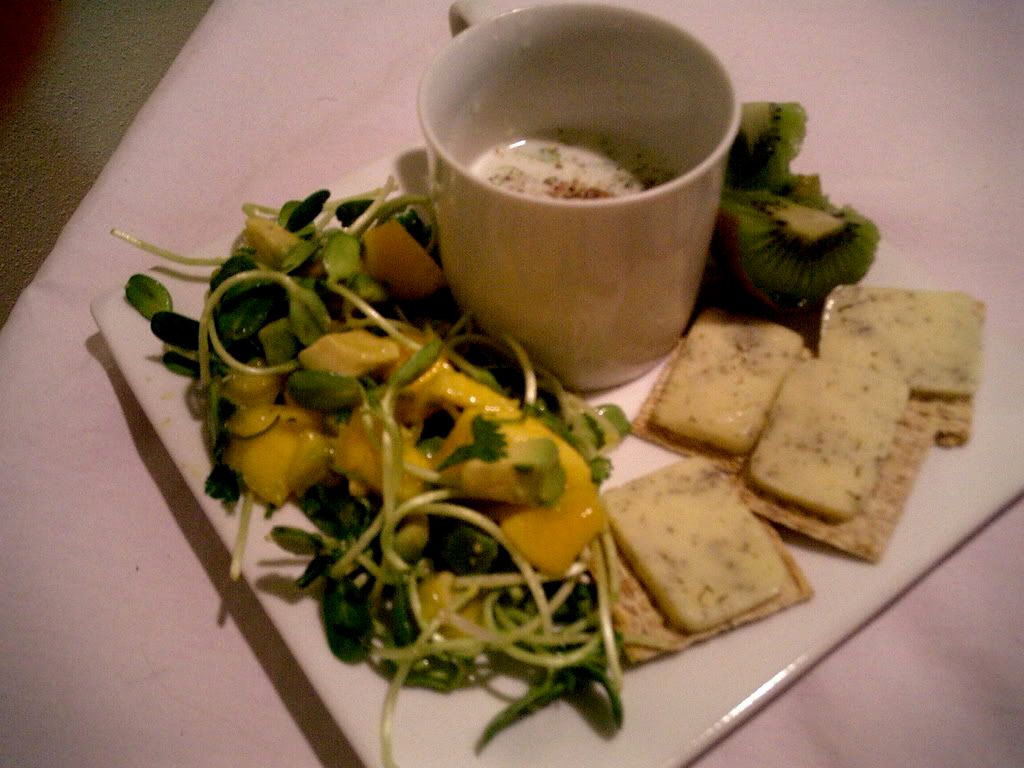
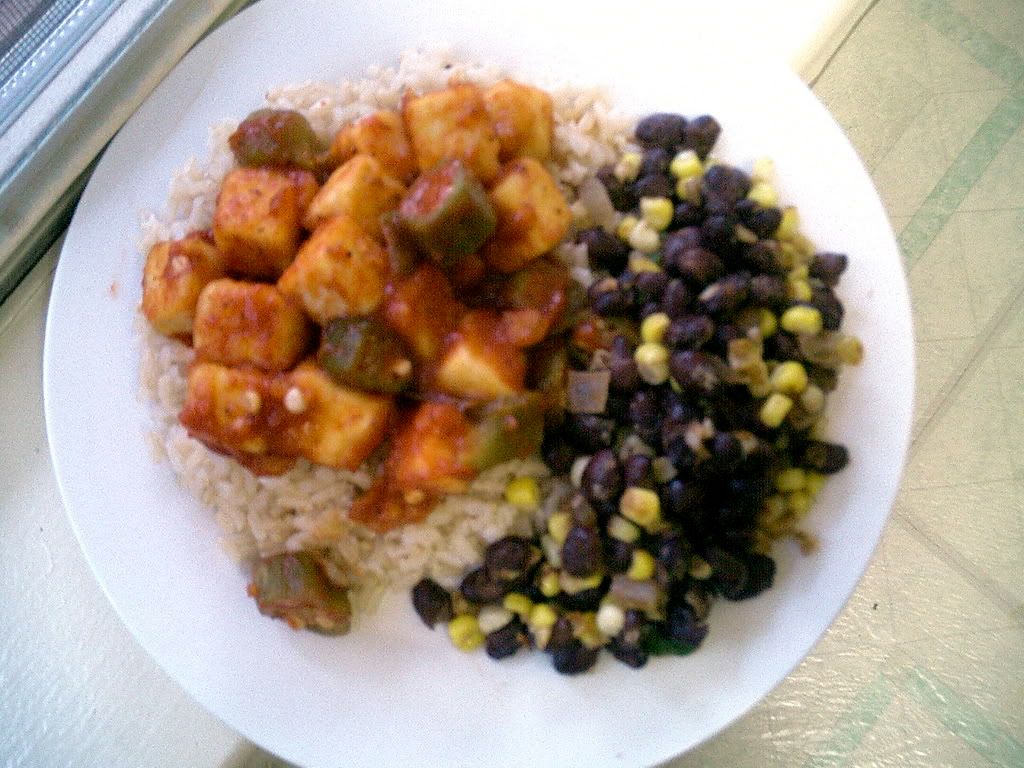
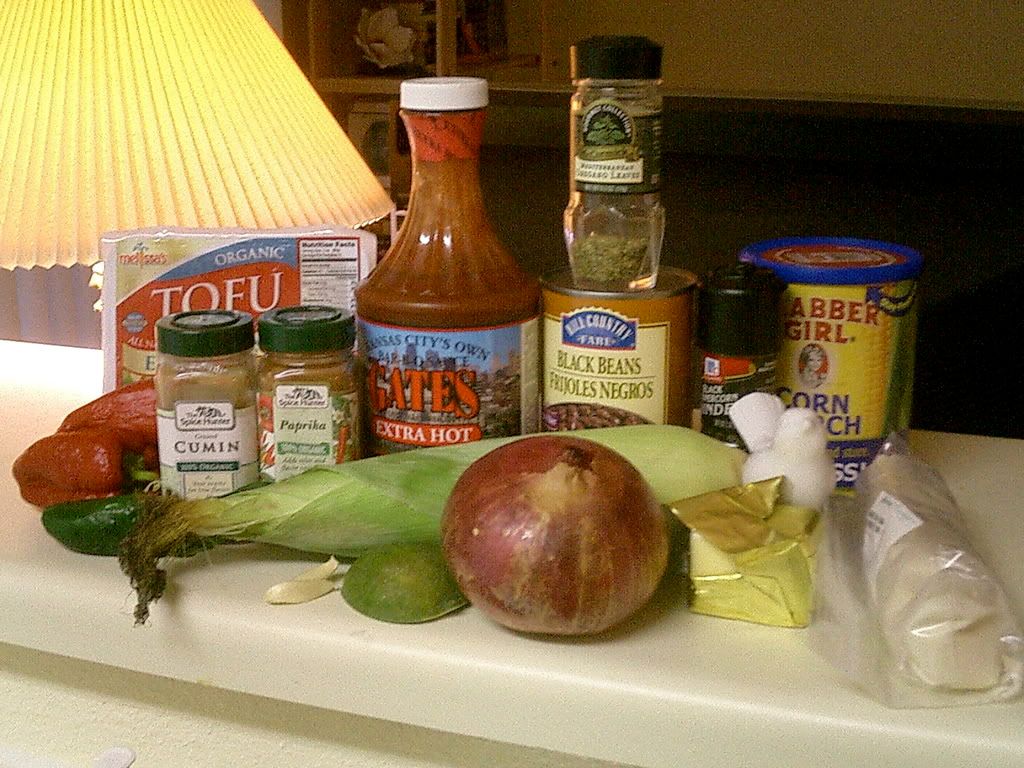
Barbecued Okra and Tofu with Fresh Corn and Black Bean Salad

For Tofu:
One 14 oz. package firm tofu
1/3 c. cornstarch
a good drizzle of olive oil
1 c. sliced, frozen okra (or fresh, if you're so lucky)
1 c. barbecue sauce
2 c. cooked brown rice

Dice the tofu into bite-sized squares and press between 2 paper towels to remove excess water. Toss the cubes with corn starch to coat evenly, then remove the excess corn starch. Heat a large skillet drizzled with olive oil over medium heat. Add the tofu to the pan and cook without disruption for 1 minute. Flip the tofu and allow to sit another minute. Continue until all the sides are golden. Add salt and pepper, toss, and remove from the pan. In the same pan, heat a little bit more oil and add the okra, cooking till heated through. Add tofu back to the pan and add 3/4 c. barbecue sauce. Stir to combine remove from heat. Serve with prepared brown rice.

For Salad:
One ear of corn
1/2 tbsp. Earth Balance
1/2 small onion, diced
1 garlic clove, minced
1/2 tsp. dried oregano
1/2 chopped, seeded jalapeno
1/2 tsp. cumin
1/2 tsp. paprika
1 can of black beans, rinsed and drained

Cut the kernels off the cob. Set aside. Melt the Earth Balance in a pan over medium heat. Add the onion and saute until soft and translucent, approximately 4 minutes. Add the garlic and oregano. Mix into the onion and cook 30 seconds. Add the corn and the jalapeno and cook until the corn is soft, about 4 minutes. Add the cumin, paprika and black beans and cook until heated through. Salt and pepper to taste.

Monday, July 14, 2008

What I Made, Part II

Tomatoes with Sesame-Miso Sauce
(modified from the August 2008 Food and Wine Magazine)


1/3 c. sesame seeds
1/4 c. veganaise
2 tbsp. miso paste
1 1/2 tsp sake
3 tbsp. water
1 tbsp. red wine vinegar
juice of a lemon
1/2 tbsp. mirin
1 tbsp. extra virgin olive oil
five huge tomatoes
1 crumbled sheet of nori

Toast the sesame seeds in a dry pan till golden, approximately 3 minutes. Make sure you toss to toast on all sides of the seeds! Transfer to a mortar and pestle and mash into a fine dust. Whisk the seeds with the veganaise, miso and sake, then whisk in the water. In a separate bowl, whisk the vinegar, lemon juice and mirin. Gradually, in a steady stream, whisk in the olive oil. Add the tomatoes and toss to coat. Top the tomatoes with the crumbled nori. Serve the tomatoes with their juices on a plate, topped with a dollop of the sesame sauce.

What I changed: The magazine called for mayonaise, but I use veganaise at home. This also allows the recipe to be completely vegan (I think - let me know if you know that any of these ingredients aren't vegan). The recipe called for ume, which is a Japanese plum vinegar, but they didn't have any in the Asian aisle at the grocery store, and I didn't have time to go to the Asia market, so I just used regular vinegar to provide a kick but without the flavor. I cut a little sesame oil from the vinaigrette, because I think the toasted sesame seeds are potent enough on their own, but you could add it back if you love sesame. Also, here I cut the vinagrette in half. I can almost always cut dressing in half, because my preference is a light coating and not a large pool of dressing. Also, the juice from the tomatoes adds a lot of volume to the liquid, in a healthy way. So, if you want, double everything from the vinegar on (except the tomatoes and the nori).

Beet and Goat Cheese Sandwich


3 beets, tops and tails removed, halved
1 garlic clove, crushed
salt and pepper to taste
goat cheese (I used a basil herbed goat cheese, but any kind is good)
2 pieces toasted whole wheat bread

Place the beets in a large, deep pot and fill the pot with water, about 1" higher than the beets. Bring the water to a boil and simmer until the beets are fork-tender all the way through, which takes about an hour. Make sure to use a high-walled pot for this, or beet colored water might end up all over your oven and counter top. Beet colored water can very easily stain surfaces (in fact, if you want to use this as a dye for some fabric when you're done, go ahead! It makes a lovely color). When the beets are tender, drain them and let them cool completely. They can keep a couple of days in the fridge like this, so if you're going to be in the kitchen doing something for a long time, you can have this going at the same time, then eat it days later - maybe for a quick lunch.

Peel the beets with your fingers or a knife. Even a butter knife will work - the skin slides easily off. Grate the beets with a box grater. They make a lovely pile of juicy red sticks. Stir in the crushed garlic clove, salt and pepper.

Serve the beets on toasted whole wheat bread with some crumbled goat cheese. The beets and goat cheese go amazingly well together. This sandwich is so simple, but it's really beautiful and delicious. It also makes a striking open faced finger sandwich for a party.

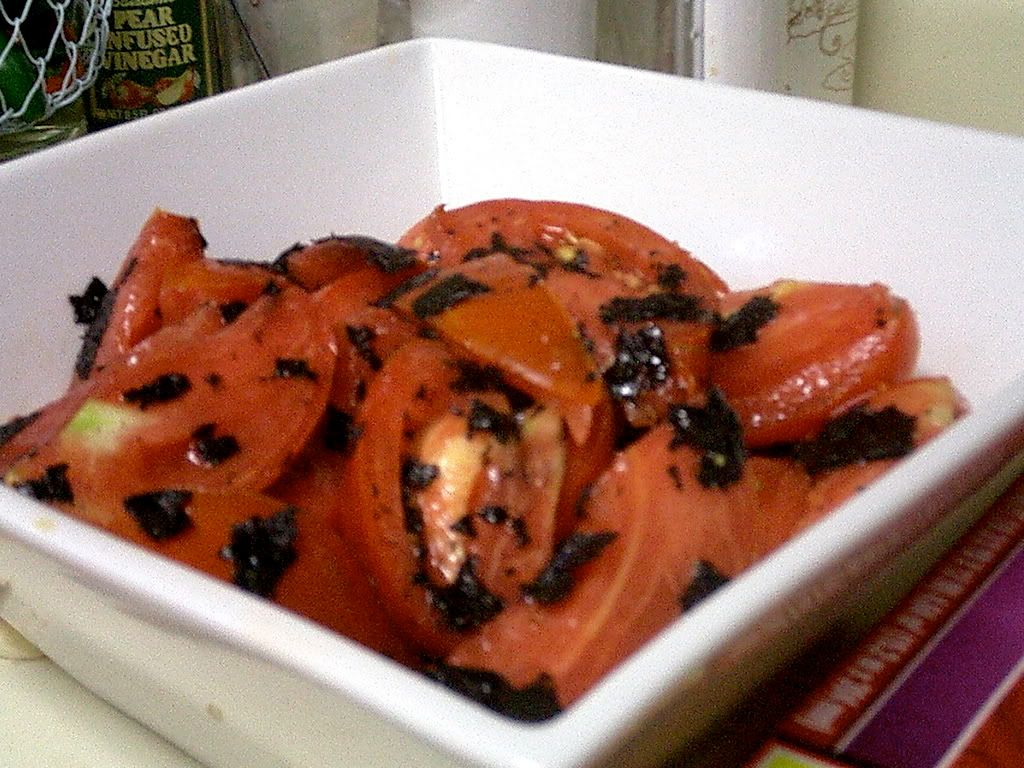
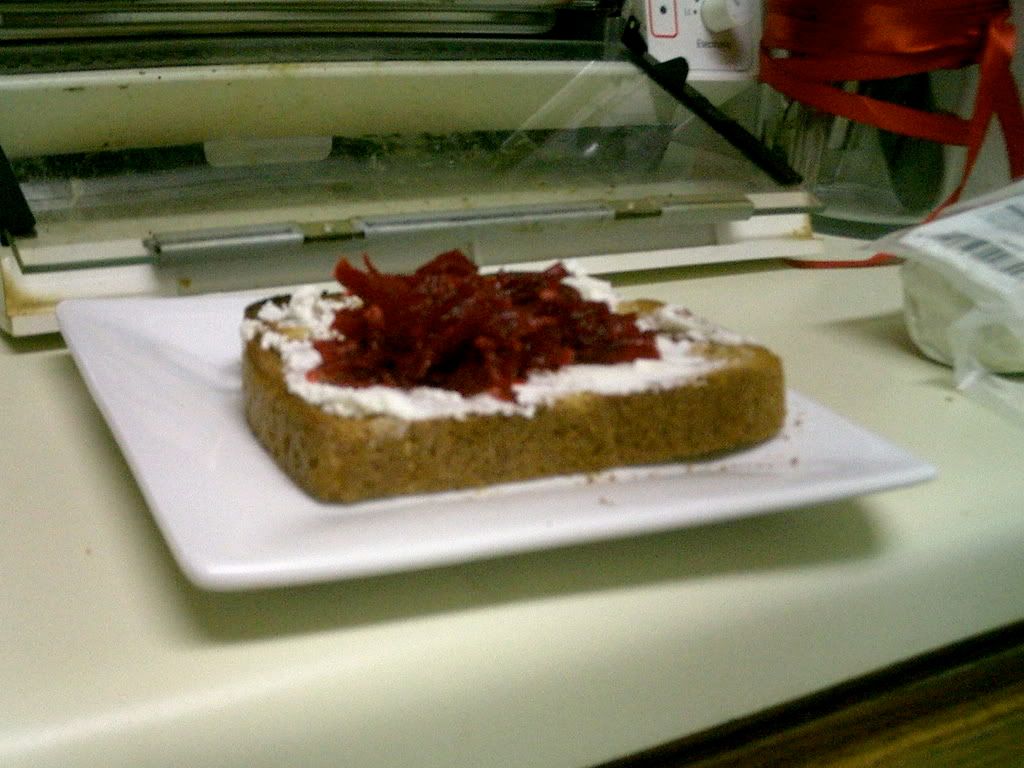
photo of one of the nature's notorious fruit flies

Unfortunately for me, I have accumulated some fruit flies. Where do they come from? Why are they trying to take over my apartment? Why are they collecting on the bathroom mirror instead of the garbage can or something? I don't know, but I have to get rid of them. According to a google search, a quick way to get rid of fruit flies is to put a bit of fruit and a bit of vinegar or wine in a bowl, cover it tightly with plastic, and poke some very tiny holes in the plastic. The flies can get in, but (for reasons I don't understand) can't get out, and they are trapped and either die or you can remove them to nature.

I have just embarked on my first effort at catch and release. I shall update you accordingly on my successes.
I also made my exciting new toaster oven cover! The toaster oven I have came from my mother, equipped with a very 70's brown and beige cover that said "TOASTER OVEN" on it. Cute, but not for me. So I ordered a very light blue cordory and 50's red dot pattern from Repro Depot and constructed my own bright cover in my favorite color combination. It took about 5 minutes and is far from an amazing development, but I like it.
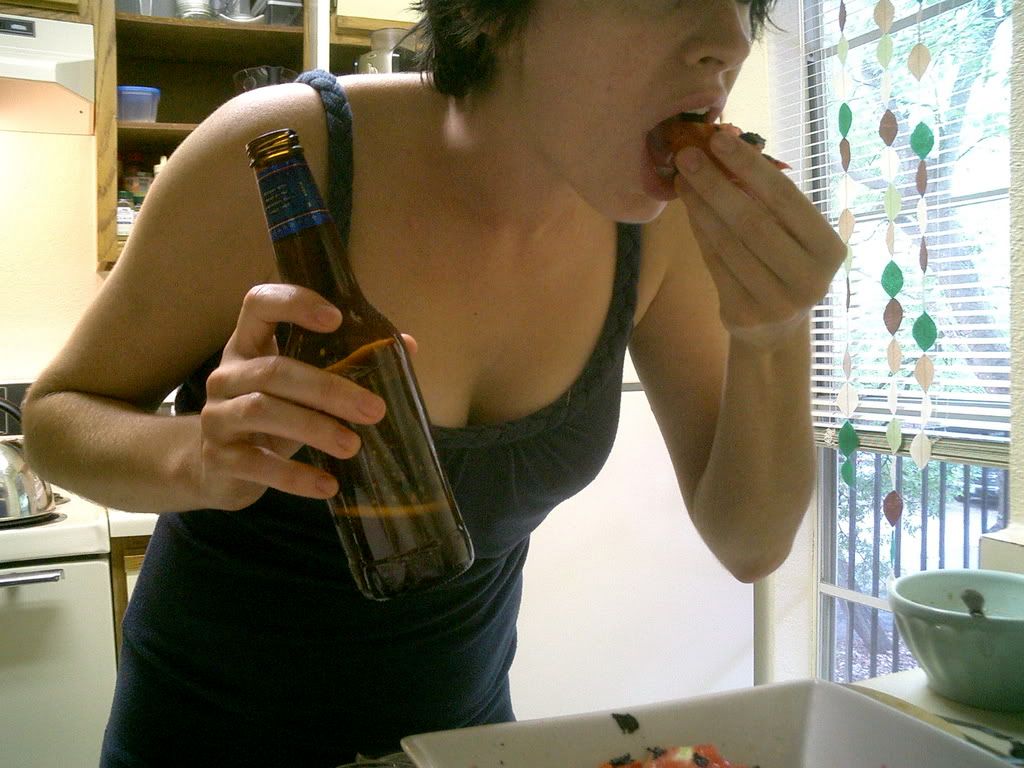
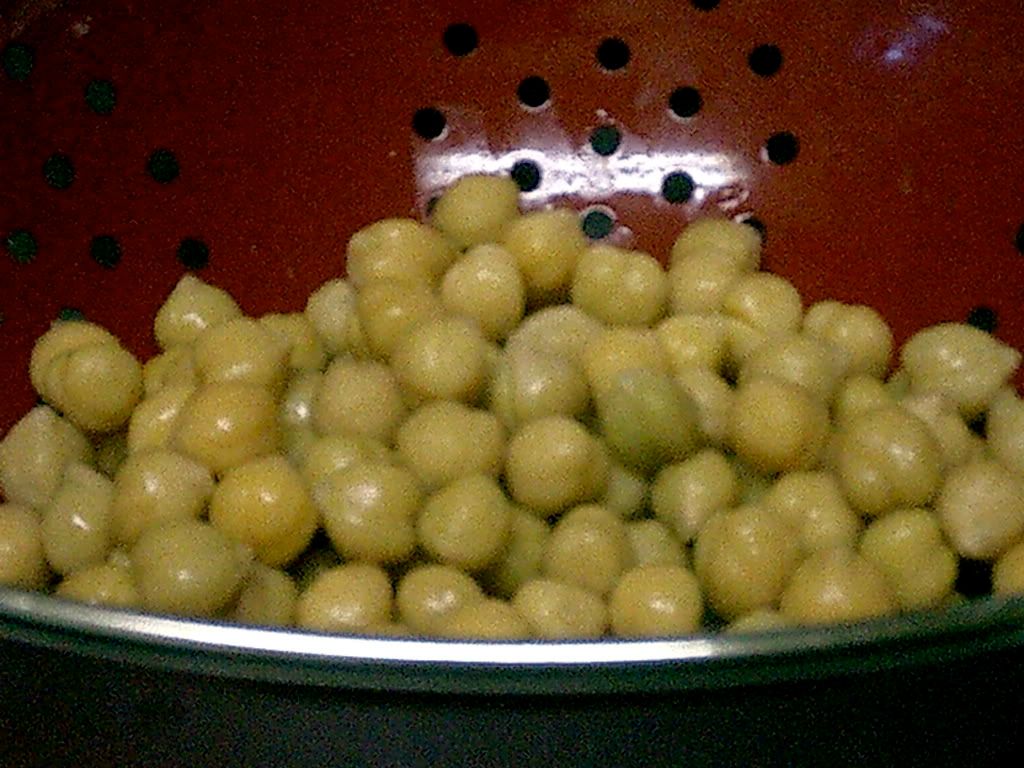
You can also see, at the very bottom, a little of the design I'm going to embroider on the skirt. It's not a mistake. It's just not done yet... but soon!

Sunday, July 13, 2008

July Self Portrait Challenge

I really love the way the party always ends up in the kitchen. I feel at home there, standing, milling around, with plenty to touch and taste and do. It's just not the same to cook for yourself as it is to cook something for others. The gift of time, as it were, and nourishment, and, of course, enjoyment. Can you share anything better? I love to be in my kitchen, with a little still left to do on a dish, entertaining the mind, and the senses, putting on the finishing touches.

I wanted my entry to reflect that.


Wednesday, July 9, 2008

What I Made

I had a cooking frenzy, preparing everything I got from the farmers market on Saturday in one day, able then to for the rest of the week without doing anything but reheating when necessary. I open my fridge now... and it's delicious and colorful and inviting.

I could certainly use a digital camera with a micro function, as my photos seem to be blurrier the smaller the thing I try to capture.

The Best Hummus I've Ever Made
I made this first so I'd have something to nibble while I cooked. This, with a cool beer, was my summer equivelent to noshing on red wine and bread in the winter.

One can chickpeas
Four garlic cloves
1/4 cup plus 2 tablespoons extra-virgin olive oil, divided
4 tablespoons tahini, divided
salt and pepper
juice of a lemon, divided
Cumin
Hot Hungarian Paprika

Rinse and drain the chickpeas. Save a few for garnish (they're so cute). Place in a blender with the garlic, 1/4 c. olive oil, 2 tablespoons of tahini and the juice of half a lemon. Blitz until smooth and creamy. If you need to, adjust the amount of olive oil to achieve a smooth consistency. Pour into a bowl and clean out the food processor. Well, I used a mini-prep, which is definitely all you need for this next bit, or you might want to just use a whisk. However you do it, whisk together 2 tablespoons olive oil, 2 tablespoons tahini, the juice of half a lemon, salt and pepper. Drizzle this on top of the hummus. Toss the reserved chickpeas on top and sprinkle with cumin and paprika. Amazing.

Hummus is genius.

Black Eyed Peas and Fried Rice with Spicy Collard Greens
This was *so good* I ate it for three straight days.

For Collard Greens:
One bunch of fresh collard greens, thick stems removed, and leaves sliced
Half a yellow onion, diced
Four garlic cloves, minced
A large handful of lentil sprouts
One tablespoon extra-virgin olive oil
Three slices of tempeh bacon, cut into bite-sized bits
One jalapeno, minced
Two tablespoons cider vinegar
Juice of half a lemon

Bring a large pot of water to a boil. Add the greens and cook for 20 mintues, until the leaves are soft but still bright green. Drain, reserving 1/2 cup of the cooking water. Heat the olive oil in a skillet. Add the onion, jalapeno, lentil sprouts and tempeh bacon and cook for 7 minutes, till soft. Add the garlic and cook for 30 seconds. Then, add the greens and toss. Squeeze the lemon over, drizzle with the vinegar, and pour 1/4 c. of the reserved cooking water over. Cover the pan and let cook until the greens are cooked, which takes approximately 10 minutes. Pour the greens into a serving bowl. Keep the pan hot, because you're about to use it for the rice and beans!


For Beans and Rice:
About a cup and a half leftover brown rice
One can of rinsed and drained black-eyed peas
One tablespoon extra-virgin olive oil

Pour the olive oil into the pan and let it heat for a few seconds. Add the rice and peas and cook till heated through. This part is definitely just 'getting it hot' more than 'cooking'. The rice will get a little crispy, which is nice. Add the last 1/4 c. cooking water from the greens to soften the rice and steam it a little. Pour the rice and beans into a bowl off the heat.


For Sauce:
Two tablespoons cider vinegar
Two tablespoons honey
One teaspoon cumin
Two teaspoons cayenne pepper
Two tablespoons extra-virgin olive oil.

Simple sauce: whisk these things together.

To assemble, mix the sauce with the rice and beans. Make a bed of greens on a plate and top with a scoop of rice and beans. It's mildly spicy, definitely sweet.

Potato Pancakes with Red and Yellow Pepper Pesto
This pesto is simple, requiring less olive oil than most pestos (because of the pepper's juiciness), which means it's lower in fat and calories. Since there is no cheese, it's vegan, but you could add some parmesan if you'd like. I don't think it needs it. I also didn't have any nuts on hand so I didn't add any, but it's already extremely flavorful. It's great on a sandwich or as a dip for tortilla chips!

The potato pancakes are modified from the Deborah Madson book (everything I make is modified if it came from somewhere else. I usually don't have exactly everything I need, and sometimes, I just don't want to add everything it calls for, or I want to add more, or different). Potatoes and cheese are each in my top five favorite foods, so these are like a dream. Also, most of my pancakes fall apart, but using mashed potatoes keeps these together, which, honestly, is possibly the best thing ever (today).


For Pesto:
Two large peppers (I used one red and one yellow)
One bunch of basil
Three garlic cloves
1/4 c. extra-virgin olive oil
Salt and Pepper

Wash the peppers and dry them thoroughly. Heat the broiler in your oven. Usually, you'd put a whole pepper in on a pan in the top rack of the oven and turn the peppers till they're all charred, but my top rack put the peppers way too close to the heat source, and I cut them in half and just moved them around. So, if your oven is like mine, half the peppers and put them in the oven on a pan on the top rack and move them around a bit till they're charred all over. Remove them from the oven and put them directly into a metal bowl. Cover the bowl with plastic wrap or tin foil and a tea towel and let them cool. Once they reach a temperature you can work with, peel the skins off and discard the skin, seeds and stems.

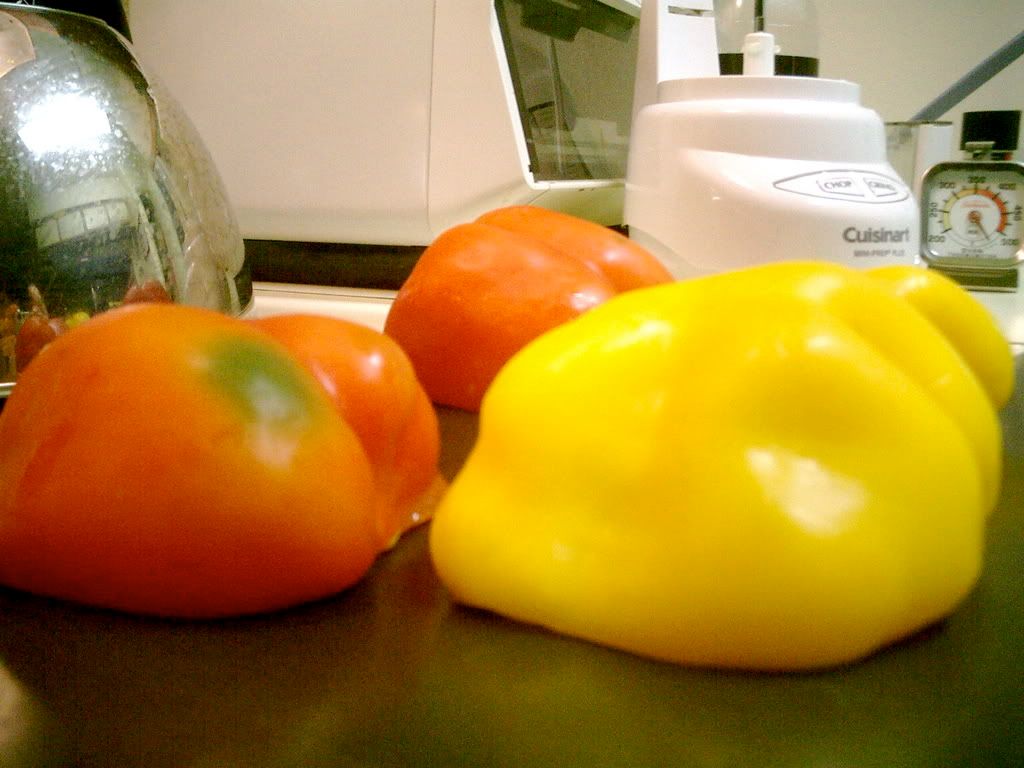
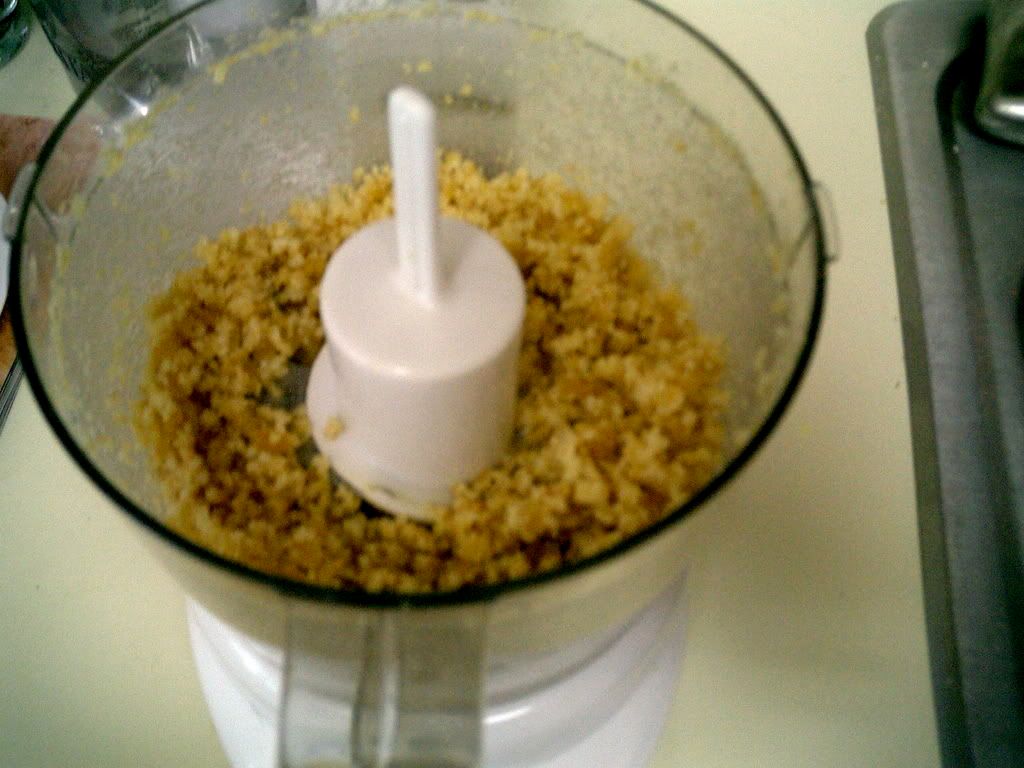
Roughly chop the body of the peppers and put them into a food processor with the three peeled garlic cloves and a handful of basil. Pulse the mix until it is chunky. Then, while the processor is running, slowly and in a steady stream pour in the olive oil. Don't let it get too smooth - it's a nice sauce but it's even better with a little chunkiness of the peppers! Add salt and pepper to your taste.

For the Potato Pancakes:
About a pound and a half of tiny red potatoes, quartered, peels on
1 tablespoon extra-virgin olive oil
1 jalepino (remove the seeds if you like), minced
1/2 onion, chopped
a handful of cilantro, to taste, chopped
a bunch of scallions, diced (white and green parts)
about a cup of shredded cheddar cheese
1 egg, whisked
a plate of Panko
chives

Put the potatoes in a pot and cover over with water. Boil the potatoes till fork-tender, which takes approximately 20 mintues. Don't forget to salt the water first! Potatoes love salt. Drain the potatoes and mash them with a fork till they're chunky. Apparently, the key to this dish is chunkiness. Then, stir in the jalepino, onion, cilantro, scallions, cheese and egg. Using your hands, form the mix into whatever size patties you like. Heat the oil in a nonstick pan. Press the pancakes into the panko, covering each side. Place the cakes onto the pan and let them cook approximately 3 minutes per side. Check them to make sure - they should get a nice golden color on the outside and be warm throughout.

To assemble, place 2 pancakes on a plate and drizzle with the pesto and top with freshly cut chives. This is a total celebration of vegetable tastes.

And still to come... Beets with Basil Goat Cheese Toasts, Japanese Tomato Salad (modified from this month's Food and Wine, and photographed below).


Sunset Valley Farmers Market


It's a beautiful time of year at the Sunset Valley Farmers Market. It's a veritable summer fruit and vegetable explosion - everywhere, tomatoes, eggplant, summer squash, huge herb bundles, delicate flower bouquets, the beginnings of beans, some glossy potatoes, juicy peaches, bundles upon bundles of peppers, huge melons (and not just on the customers, either)...


This is one of the best farmers markets in America. I've been lucky enough to live in LA and get to shop at the Santa Monica Farmers Market, which was a delight. It's situated just off the beach, so you get a balmy breeze and fresh ocean air, and hosts some of the most interesting shoppers I've ever seen - rollerbladers, bicycle riders, posh rich hippies in their floppy hats, struggling Valley artists who haul over and down the 405 and 10 and battle obscene traffic to get there and back, just for the ambiance and bounty. I've also lived in San Francisco, and it has what I might argue is the best farmers market I've ever been to in the States (I haven't been to any on the East Coast, though). But San Francisco... on the wharf, on the bay, in the cool, the sheer size of it is breathtaking. But here in Austin, even without a sea breeze, even in the stifiling heat of a summer with a record number of days over 100 degrees, the market is so full it's pleasant no matter what.

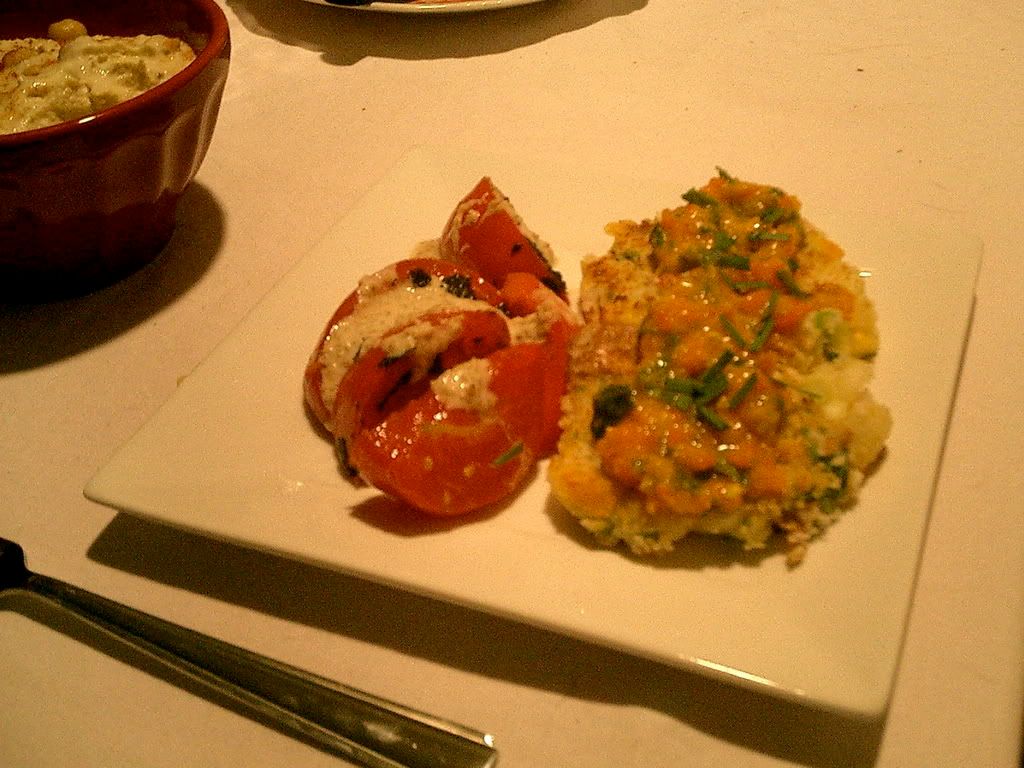
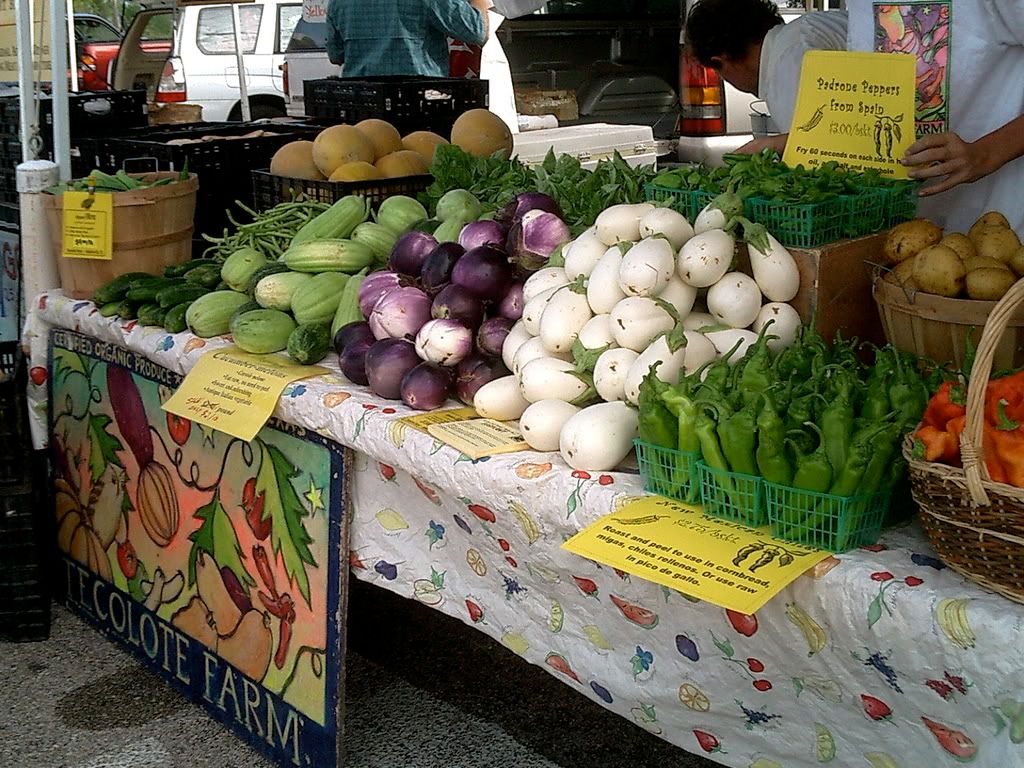
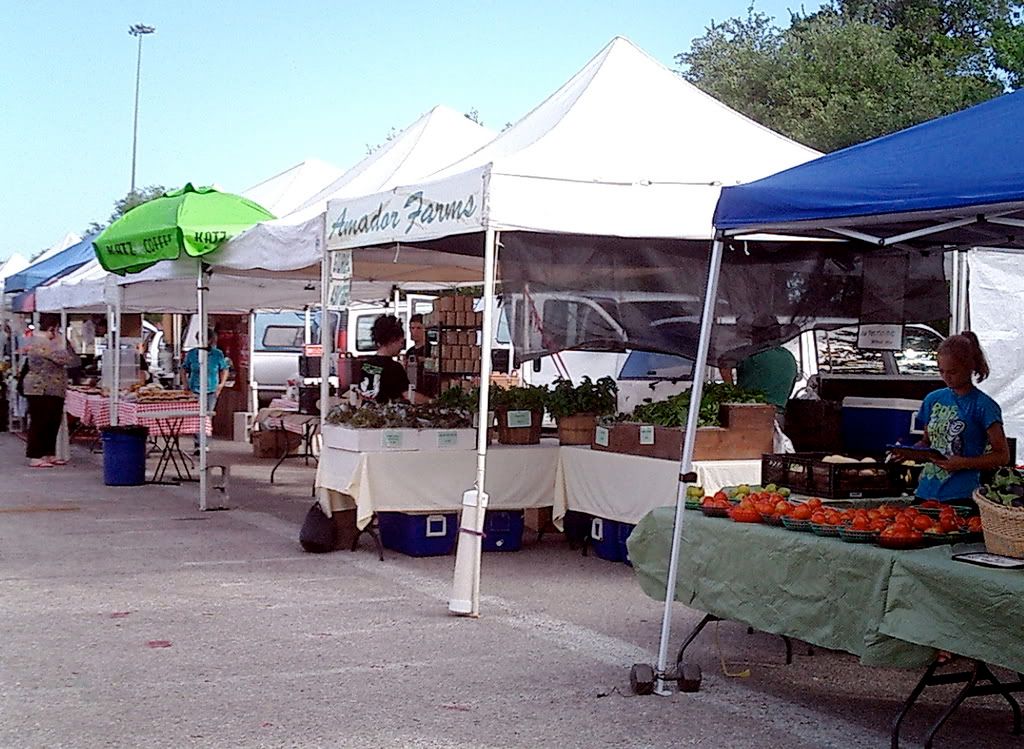
I went early early this week, which I usually don't do (usually I'm working, or just too lazy to go at 9 on the button). I actually got there *before* the thing opened! And everythign they say about a farmers market is true. I love to meet the farmers, ask them what's good, ask them how they prepare things I've never heard of or seen before but am dying to try. I love to know my food came from someone, somewhere close by, worked by people who have families and who really care about what they produce. It's good for the farmers, it's good for the community, it's good for the environment... there's nothing new in knowing this. Maybe the realest delight, for me, is thinking about how beautiful and fresh the food is, and wondering... how am I going to cook it? How can I use this so it's as good as it can possibly be?

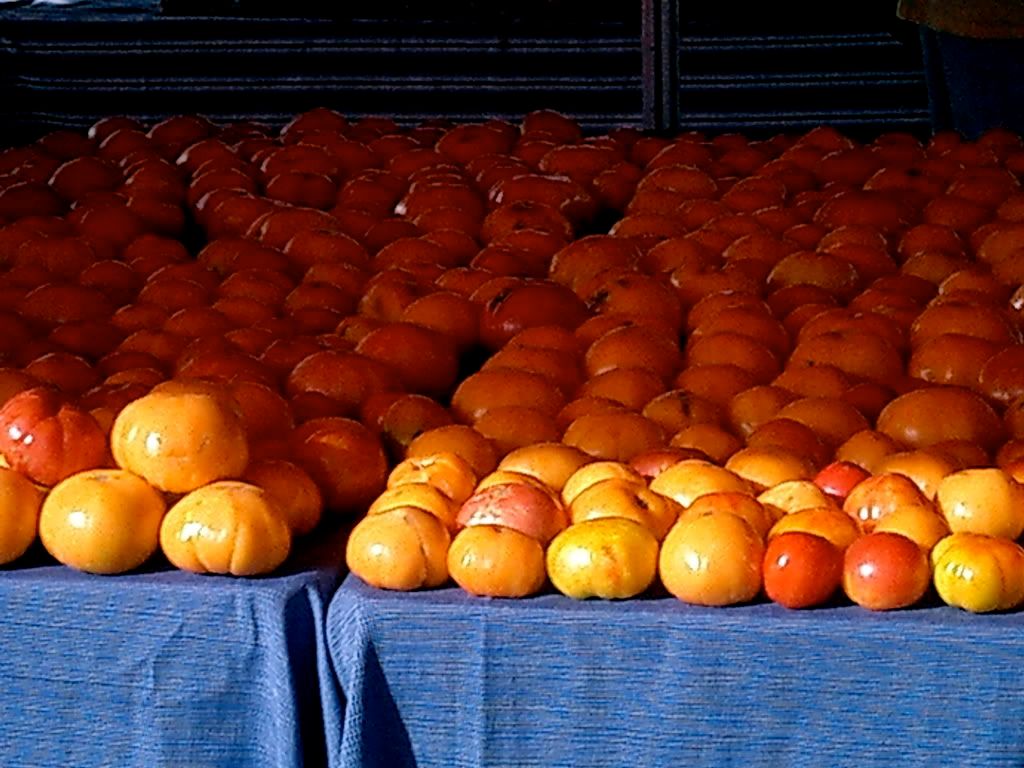
I never worried about getting salmonella from my tomatoes, which is wonderful, because if I had had to give up tomatoes during the peak of their season... well, I wouldn't have been happy. I can eat a tomato out of hand, just like an apple. This table? My dream.

I also love all the dogs at the farmers market! I can just imagine these dogs on their farms, running around, maybe among some of those cool heirloom chickens in the yard, up and down the aisles. I am in love in particular with the farm puppy, so brave to meet this big city doberman with his tiny tail wagging and no obvious fear. He was at the stand where I bough collard greens and felt so southern (well... not that I'm southern... or ever could be... but it woudl at least taste southern), and bought them from a great old man and his two, oh, must be grand-daughters who were about twelve... my parents weren't farmers but my mom's dad was, and all the family I have through him still farm in Ontario, and it can be like touching that, a bit, at the market.


I really can't imagine why everyone doesn't get as much produce as possible at the market. It tastes so much better! I guess I've been spoiled by living in places where farms are so close by and so bountiful. The tomatoes alone (oh, the tomatoes!)... and the fresh cheese... and the eggs from chickens who you can visit and see that they're really free-range and not just technically 'free-range'... it's so hard to go back to the grocery store.

This week, I got: a basket of 6 huge tomatoes, a HUGE basket of about a million jalapenio peppers, a red onion and a white, a bowl of red potatoes, two adorable yellow peppers, three ruby-red beets. And from Kirsten, extra of her chives and basil, because the bundles she got were too much for one person to use! I shall update with what I made later.